Hi everyone and welcome to my blog and my latest Christmas card. If you would like to make one like this, please follow along. There is a list of stash used also.
HERES HOW
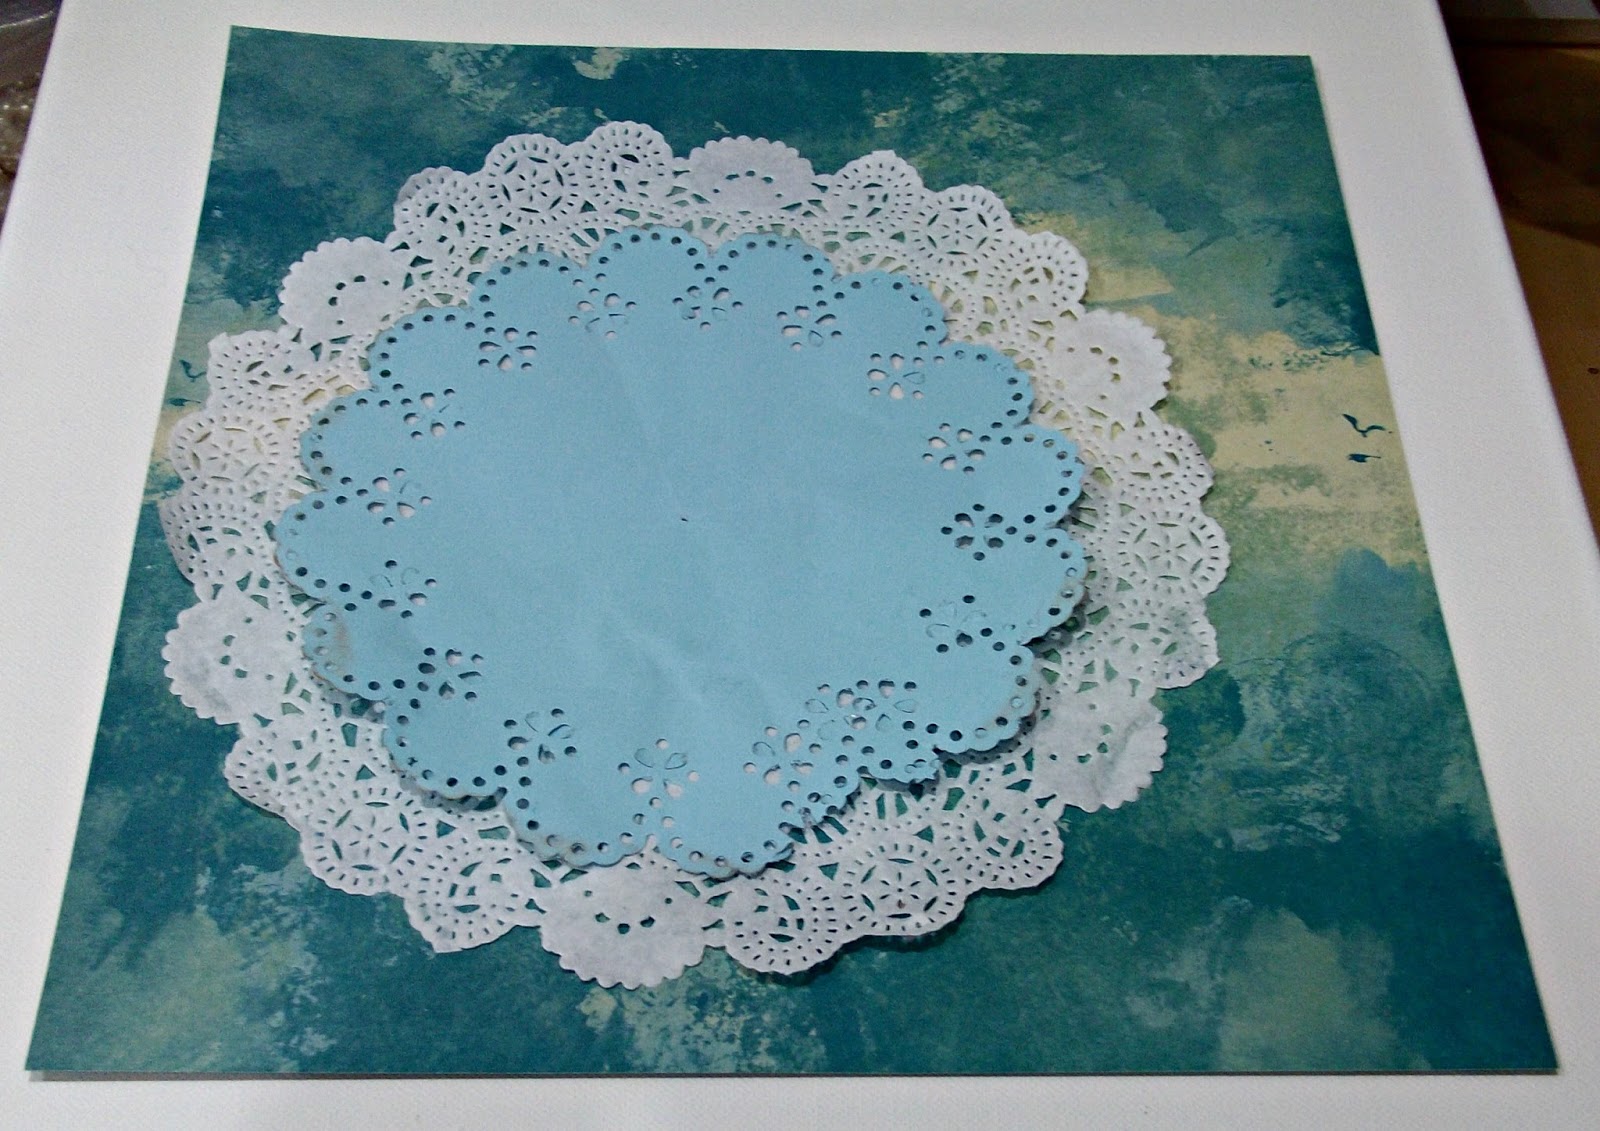
Take a large card blank or fold an A4 sheet of cardstock in half
Take a piece of pretty paper, distress and ink the edges
Adhere to card front
Take a sheet of corrugated card slightly smaller, adhere
Take a 3 inch strip of red card and attach across the centre
Add a sheet of white card slightly smaller on top
Add a sheet of sparkly card, again slightly smaller
Next add a piece of gold lace to the lower half of the border
Now start to decorate with a large flower in the centre
Take some twigs and berries and glue either side of the flower
Fill in the middle with small roses, leaves and buds
Fill any extra gaps with stamens
Die cut some sparkly pine branches and add these
Die cut some swirly holly and adhere
Die cut some Christmas baubles, adhere
Now finish off with some white texture paste and the title.
This is quite a heavy card so you will need to use 300gsm card.
STASH USED
White card blank or A4 sheet of card
Red, white card
Red sparkly card
White corrugated card
Gold lace
Assorted flowers, small, medium and large
Twigs from the garden
Berries on stems, rosebuds on stems
Assorted stamens
Pine Cone Die from Sizzix
Swirly holly die from Heartfelt Creations
Mini Christmas Bauble die
A few leaves
Title from Heartfelt creations Christmas Collection
White texture paste - Homemade.
I hope you like my card and followed along and, if so, I would love it if you became a follower
That's all for today, come back soon for more cards and layouts
bye for now