Today I have a pretty Christmas card to show you with some Christmas Poinsettias.
PRODUCTS USED
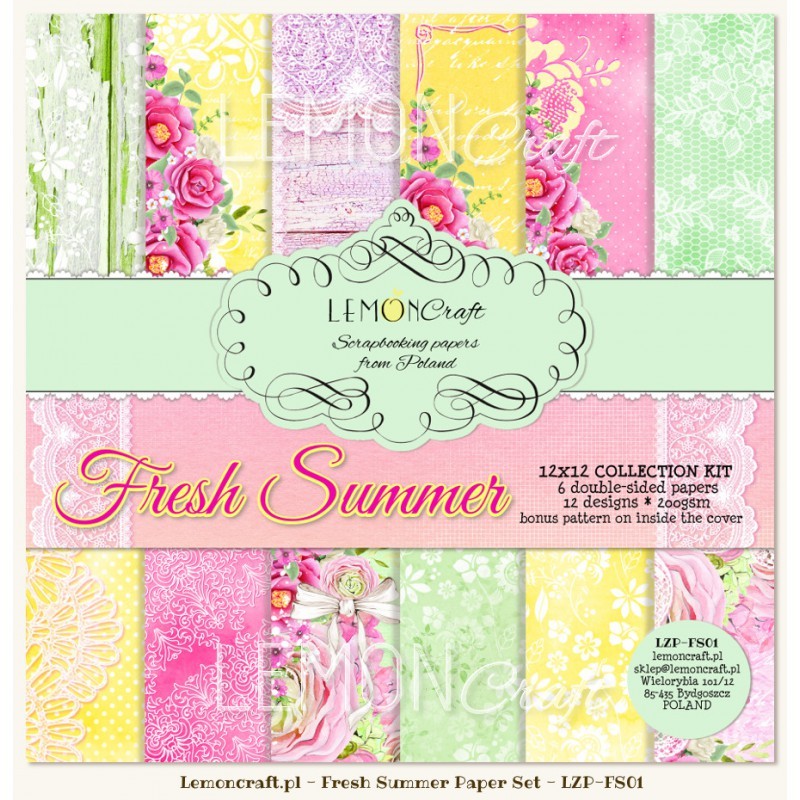
Lemoncraft Scrapbooking Papers- Christmas Greetings (12x12)

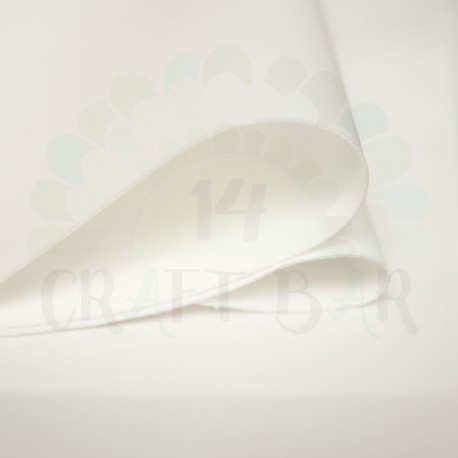
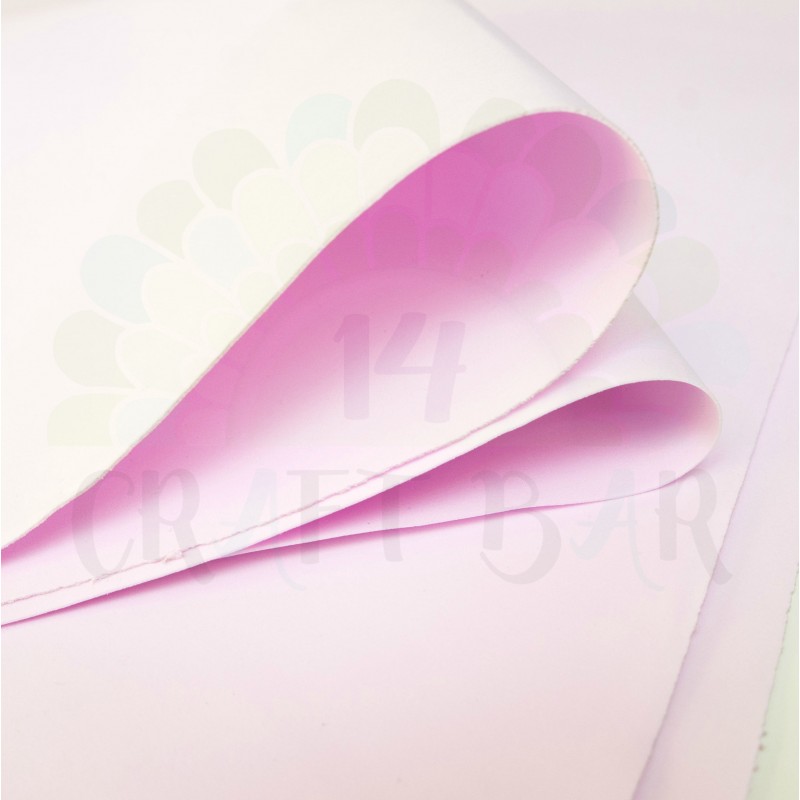
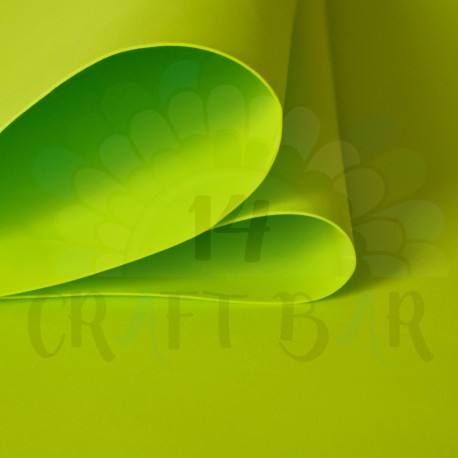
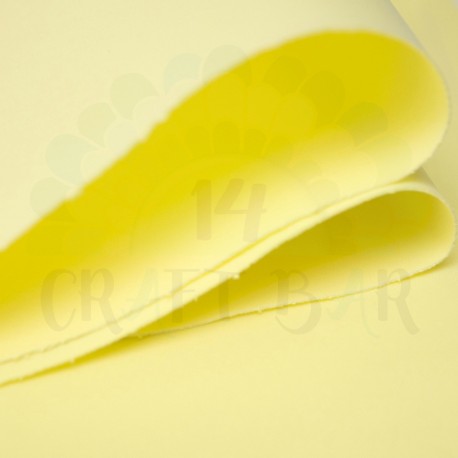
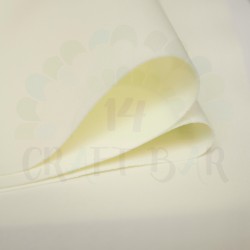
FOAMIRAN

Burgundy

Ecru
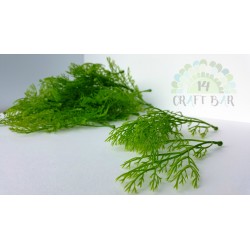
LEAVES

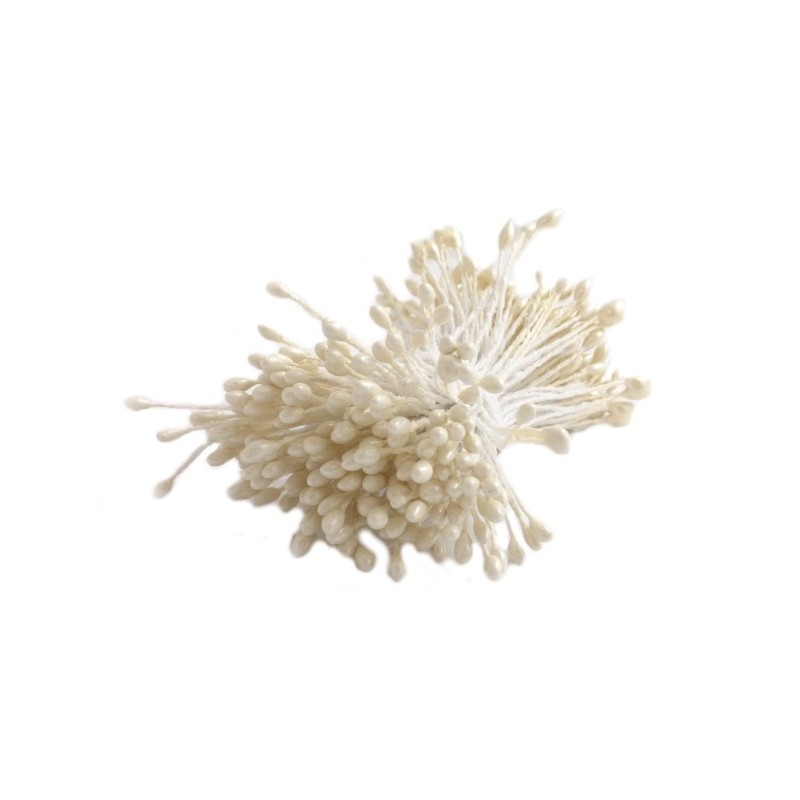
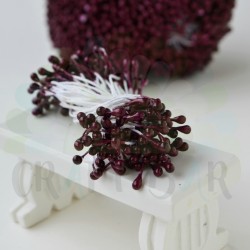
STAMENS

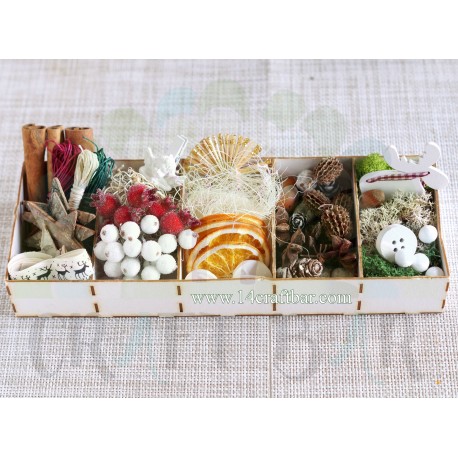
BERRIES

PINE CONES
FROM MY STASH
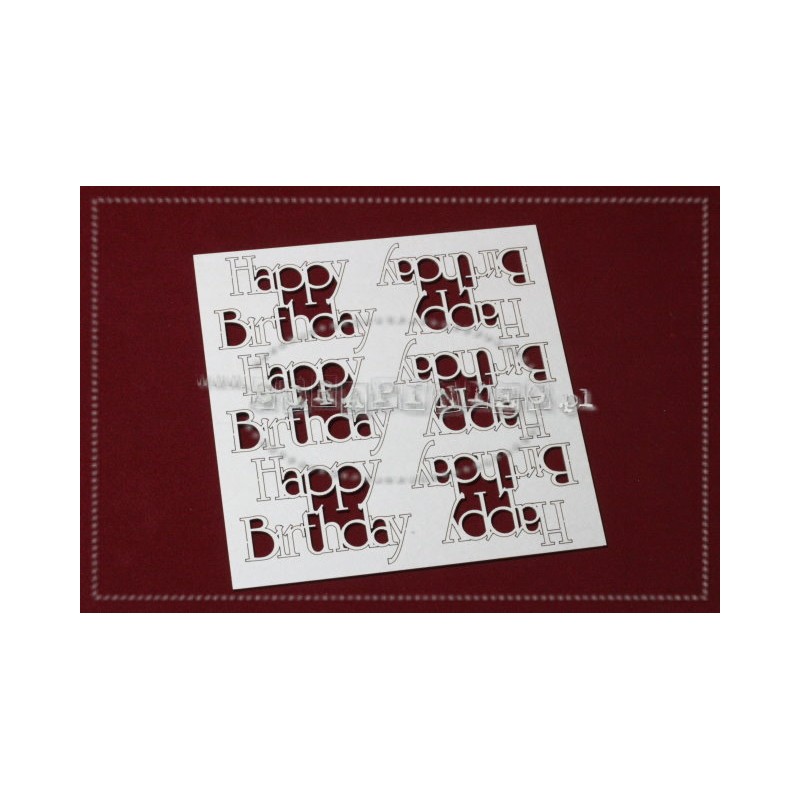
Pine bough die, white pearl card, 6 x 6 inch card blank, white card, burgundy card, burgundy chalk ink, white gesso for snowy effect, burgundy glitter and poinsettia die.
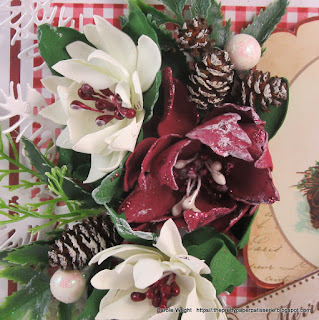

 I hope you like my card and Poinsettias and have a go at making them yourselves.
I have entered this in to the Lemoncraft blog.
Many thanks for visiting today
Bye for now
xxx
PRODUCTS USED
Lemoncraft Scrapbooking Papers- Christmas Greetings (12x12)
FOAMIRAN
Burgundy
Ecru
LEAVES
STAMENS
BERRIES
PINE CONES
FROM MY STASH
Pine bough die, white pearl card, 6 x 6 inch card blank, white card, burgundy card, burgundy chalk ink, white gesso for snowy effect, burgundy glitter and poinsettia die.


I have entered this in to the Lemoncraft blog.
Many thanks for visiting today
Bye for now
xxx