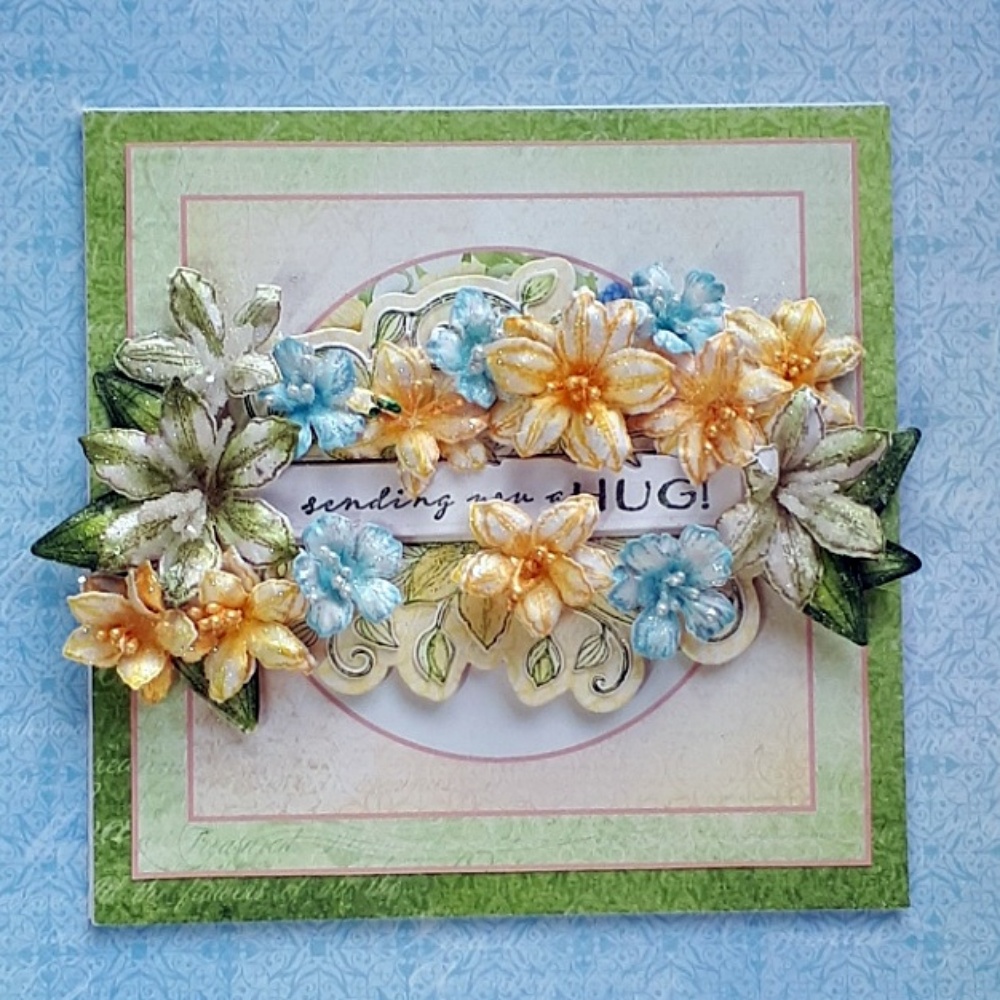
Morning lovely crafting friends, its Inspiration Wednesday at Heartfelt Creations.
If you would like to know how I made this please scroll down for instructions.
SAVE up to 20% on all Decorative and Elegant Gateway Dies, Gateway Card Bases, and ALL Paper Pads for a limited time!
Don't forget to get your FREE stamp set with any order $100 or over!  Add a stamp set of your choice to your cart and the discount will be applied at checkout!
If you would like to save $20.00 off your first Heartfelt Creations purchase please CLICK HERE

PRODUCTS USED
Click on the links below to be taken directly to the item.
Click on the links below to be taken directly to the item.
Ranger Archival Ink Pads - Leaf Green, Olive, Majestic Violet
Memento Ink Pads - New Sprout, Desert Sand
Deluxe Flower Shaping Tool Kit
Deluxe Flower Shaping Paper Pack of 50 - White, HCPP1-475
Designer Dries Clear Adhesive, 159723
Deluxe Flower Shaping Tool Kit
Deluxe Flower Shaping Paper Pack of 50 - White, HCPP1-475
Designer Dries Clear Adhesive, 159723
Rock Candy Stamens - white
Assorted Pearl Stamens Small - Purple

OTHER PRODUCTS
6x4 inch card blank, White card, Foam tape, Clear Glitter, Hot Glue Gun, Small circle die
INSTRUCTIONS
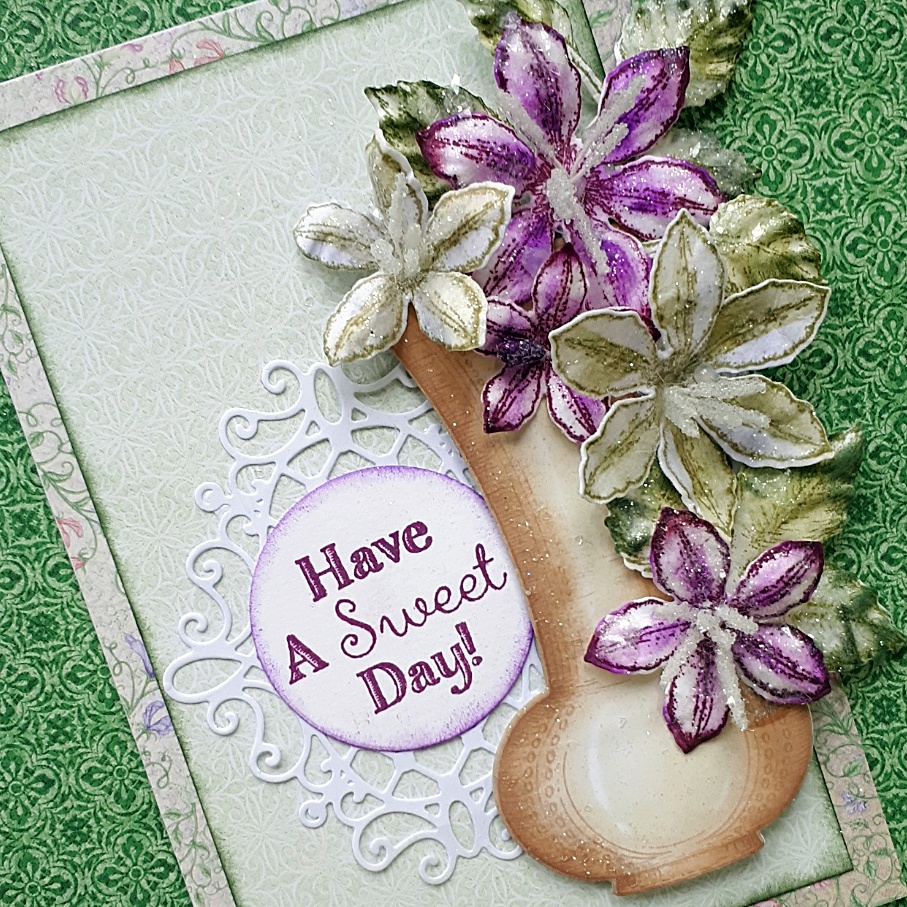
Cove a 4x6 inch card base with a pretty paper from the Sweet Pea Paper Collection
Cut a pretty green paper to 5.5 x 3.5 inches, ink edges in Olive ink, adhere to card front
Die cut the small lacy die from the Classic Floral Vase die set, in white card, adhere with Dries Clear Glue slightly to one side
Die cut the tall vase from the paper pad, ink around the edges in Desert Sand ink, adhere with foam tape
Stamp an assortment of Climbing Clematis Flowers in New Sprout and Majestic Violet inks, color in and die cut with the matching dies
Shape by hand or use a shaping mold to shape
Pierce holes in the centers, add stamens
Stamp, color and die cut some Leafy Accents leaves, place in the shaping mold, lightly spritz with water and run through a die cutting machine
Adhere flowers and leaves to the top and side of the vase with hot glue
Stamp the sentiment with Majestic Violet ink, cut out with a small circle die, ink the edges, adhere
All done.

Many thanks for visiting me today, come back soon for lots more inspiration
Bye for now
xxx