Saturday 25 August 2012

TITANIC


Hi scrappers - its the week end - so hope you are getting some quality scrap time in.
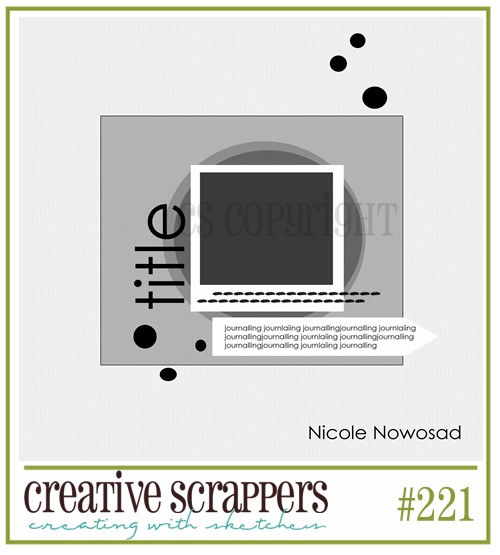
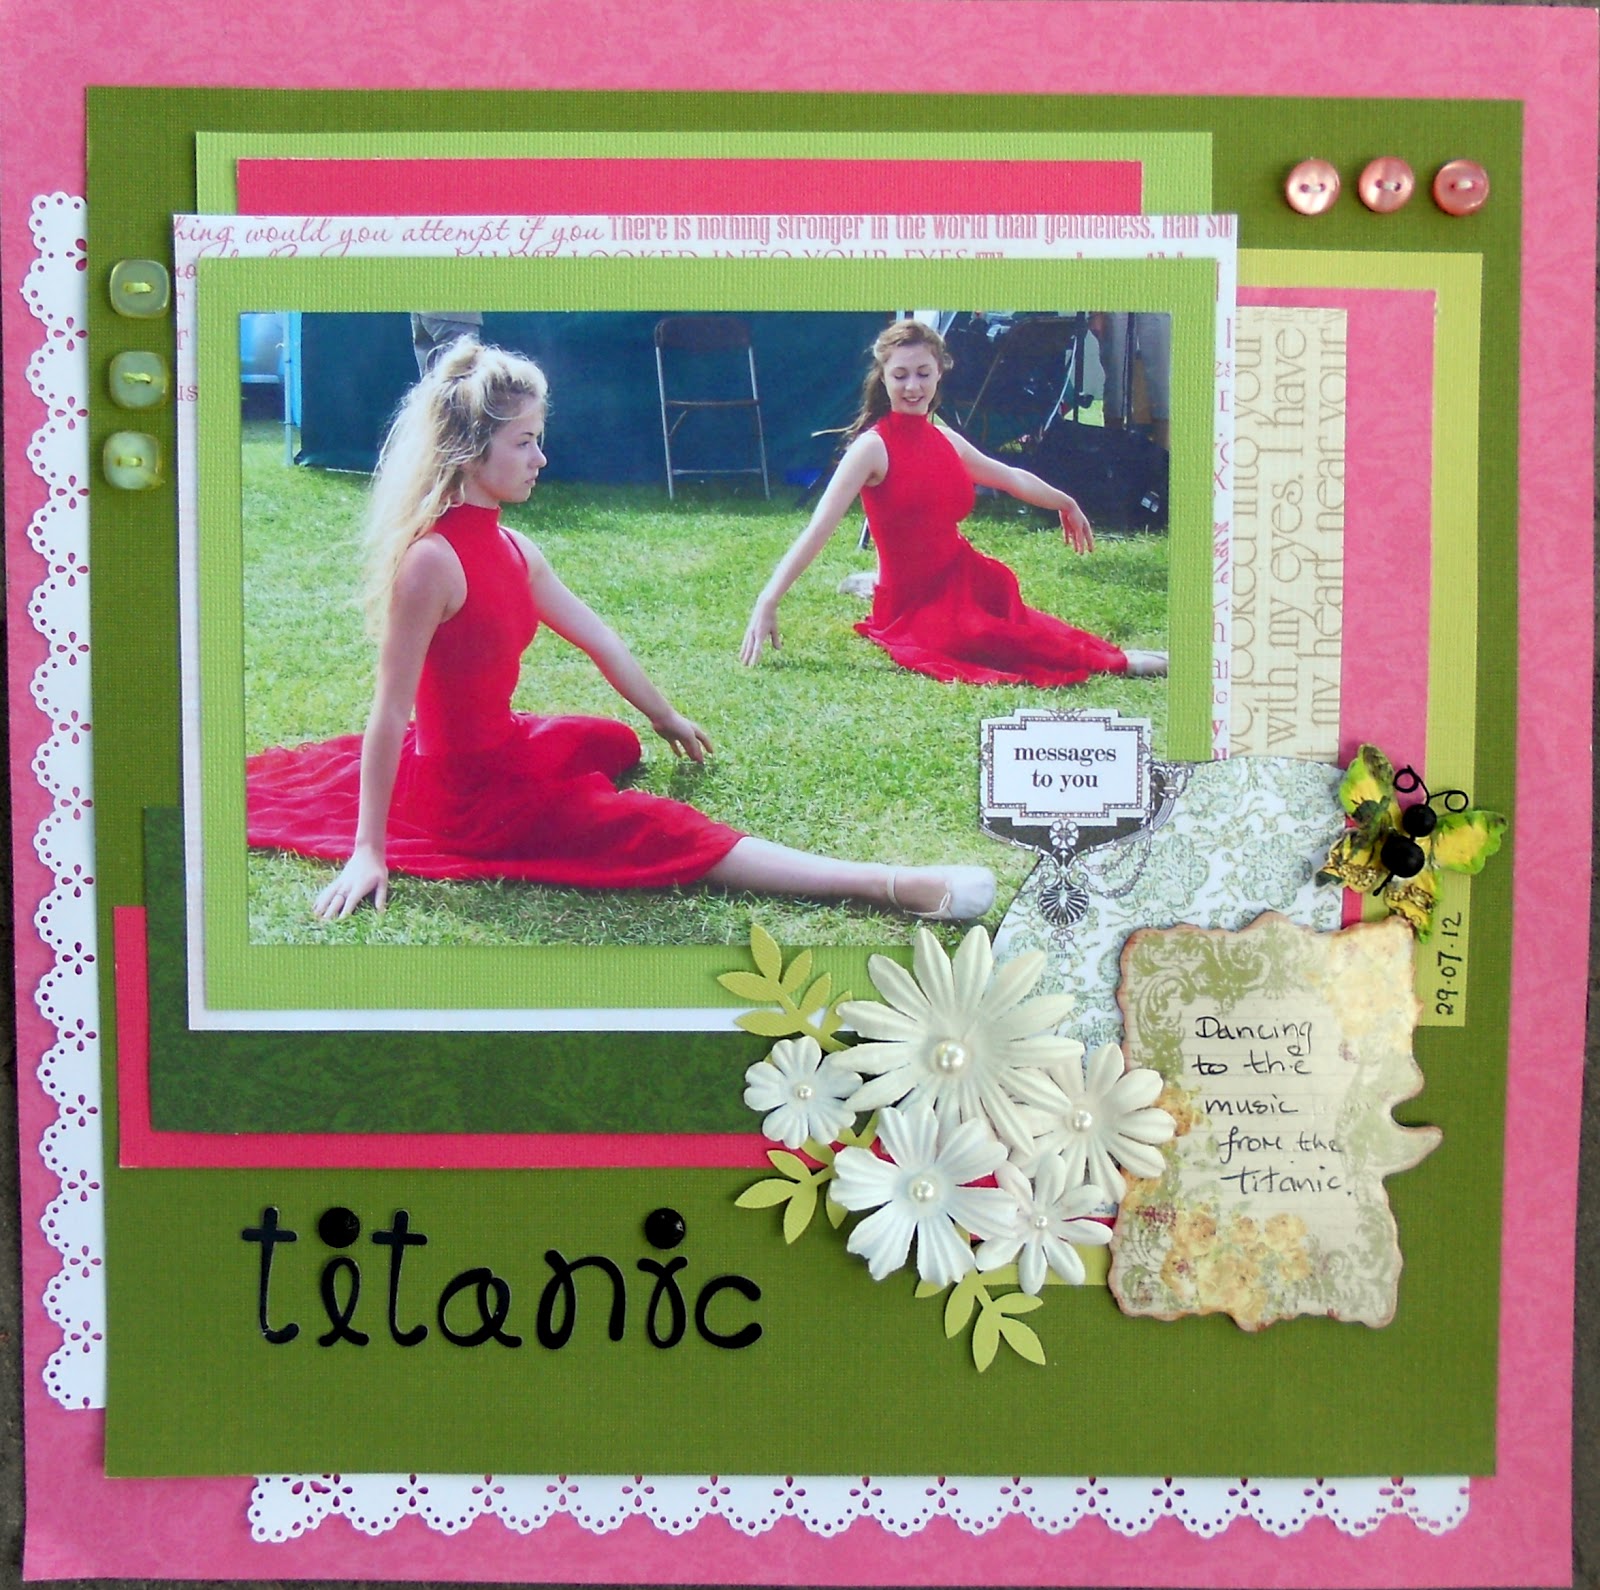
Here is a layout I have just finished as the other page to a double spread. I wanted to keep it similar to the last  page, but not the same. For this I have used a sketch from Creative Sketches for my inspiration.

 I kept the colours simple and stuck with deep pink and green with some white.
I matted my photo in green bazzill, then onto a peice of  green, white and pink pretty paper.
I mounted this onto  a 10x10 inch dark green bazzill cardstock.
I mounted this onto a pretty pink 12x12 paper.
I then cut out some border peices as per the sketch, from my papers and adhered  these.
Then I added some doily borders to brighten up the page.
I added the flowers and pearls, leaves and butterfly and some cute buttons.
I added a journalling  block and a title.
Hope you like it. See sketch below.

http://creativescrappers.blogspot.co.uk/2012/08/sketch-222.html

Scrappy Stash
Bazzill cardstock in 2 different greens.
Websters papers x 3
Mini buttons in green and pink
Flat flowers
Pearls
Prima butterfly
Black beads and wire for butterfly body
Prima journalling box
Martha stewart doily punch
White cardstock

Tuesday 21 August 2012

DANCE

Hi scrappers. I havent posted for a while as my computor has been down.

Here is my latest layout using a sketch from CREATIVE SCRAPPERS for my inspiration.
For this one I chose green and white from the layout,  when I used red it all looked very Christmassy.
So I kept it simple and here is how I did this one.

I used Websters backing paper first, I cut out the centre to use a 5x7 mat for the photo.
I then took a sheet of white cardstock and trimmed it down and used a punch around the page doily punch.
I then matted some pretty green bazzill cardstock on top.
I stuck all this down and added a doily which I mounted onto some white cardstock and cut around.
I added my matted photo on top.
I then made a small journalling box and stuck this down, and added one of my handmade stickpins.
I made a doily lace flower and added a sparkly centre from my button box.
I added some small roses and a handmade floral vine.
I used some stickers alphas for the title. I hope you like it and give it a go.
See sketch below.


CREATIVE SCRAPPERS
SKETCH 221
                                   http://creativescrappers.blogspot.co.uk/2012/08/sketch-221.html Scrappy Stash
One sheet of Websters pretty paper
One sheet of Bazzill white cardstock
One sheet of Bazzill green cardstock
Martha Stewart Punch around the page doily punch
One doily
Scrap of red cardstock
Hand made stick pin
Handmade flower vine
Mini roses
Cotton lace
Sparkly button
See my tutorials for stick pins and flower vines.

Wednesday 15 August 2012

MY BABY LOVE

Good morning scrappers.
Here is a layout I have just finished using a sketch from Once Upon A Sketch for my inspiration.
For this one I chose blue and yellow from the photo using some Websters papers and some Bazzill blue cardstock.
 So, first of all I matted my photo then made some corrugated card brackets for the back. For these I used some corrugated card sleeves that came off two take away coffees!!! I love using free stuff that could be used on a page!!
Then I double matted some larger papers and glued all this down, I added a couple of peachy peices of cardstock in the opposite corners, and I inked all the edges. I love pale blue, peach and soft yellow together and thought the peach would soften everything as I didnt want this layout to look like it was a boy page. Also I used these soft colours to represent Spring.
This is Jessie when she was about 18 months - 2 years old.
Anyway, then I die cut the hanging post in chipboard and painted it and made a hanging sign.
I die cut the butterfly, and made a beaded body for it.
I then added the lace and decorated with peach and lemon flowers. I added a tiny title -  too cute for words - and my title with letter stickers. I added one of my hand made pearl stick pins in lemon. Hope you like it, its a nice easy page if you want to give it a go.
The theme for the sketch is Seasons. My secret journaling reads: Spring is in the Air - we had just visited Monkey World and Jessie fell in love with the biggest stuffed monkey there. Of course we ended up bringing it home with us!  (p.s the hidden journaling is behind the photo ).
See the sketch below.

http://onceuponasketchblog.blogspot.co.uk/
Scrappy Stash
Bazzill cardstock
Websters papers
Corrugated coffee sleeves
Lace trim
Sticky back pearls
Flowers (Prima)
Leaves (Prima)
Mini roses (wild orchid crafts)
Brown ink
Alphabet stickers
Pearl stick pin
Die cut butterfly (Cheery Lyn)
Hanging post (Tim Holtz die)
Prima butterfly

Monday 13 August 2012

My scrunchy flower tutorial

My Scrunchy Flowers x 2


You will need 10 layers (2 of each) (makes 2 flowers).
Using dies,  punches or hand cut in 5 different sizes
I used a Tim Holtz die and a flower punch.


Then spritz with glimmer mist. (Here I used my home made mist).


Scrunch everything up in little balls and leave to dry
I put mine on a radiator or you can use a heat gun.


Then carefully  unscrunch.


Ink all the edges of all the peices and they should look like this.
 Then start to layer up using a glue dot or dab of glue in the centre.

Curl up the edges using scissors or your fingers.
Your flowers should look like this.
Add a centre and you are done.

Tuesday 7 August 2012

PLAITS

Morning scrappers. I love pink and yellow together and with a little green added it looks really pretty.
So here is what I did.
I used a template to cut around for the yellow basic grey paper. I adhered this to some pink bazzill card.
I matted the photo in some dark pink bazzill.
I cut out some borders from both the pinks.
I cut two scalloped borders from some yellow bazzill cardstock.
I adhered all this to the yellow shaped card.
I then added half a doily.
I die cut a heart and swirl from chipboard and painted them with some ranger crackle paint in white.
I inked the edges and glued these down.
I handcut some butterflies and applied stickles glitter glue and some pearls for the bodies and wire for the antennae.
I added some pink and yellow Prima and Pettaloo flowers.
I added some pink trim and some pearly hearts.
I added pearls and the vellum title and some green leaves cut using a sizzix die.
Scrappy Stash
Basic grey paper
Bazzill cardstock
Template
Doily
Die cut heart and swirl
Ranger crackle paint
Brown inkpad
Butterflies
Stickles
Flowers
Pearls
Leaf die
Thats all for now. Have a great day.

Thursday 2 August 2012

GLIMMER MIST TUTORIAL


How to make home made glimmer mist. Here is my blue version.
You will need a mister bottle, a tube of metalic paint, some perfect pearls and an applicator.
Add water to your mister bottle to about 3 /4 full.
Add a good tablespoon of the paint and shake.
Add a small spoonful of perfect pearls.
Shake and you are ready to spray.
The picture doesnt do the paint justice, in real life its really sparkly and so much cheaper that you buy.
Why not give it a go.