Morning everyone and welcome to my Tutorial for
Today I have a Christmas Card Tutorial for you including how to make my poinsettia flowers from paper foam, otherwise know as Foamiran. Plus a bonus, a video!

YOU WILL NEED
6 X 6 inch card blank, white glitter card, pale blue pearl card, pale green pearl card, snow globe die, Merry Christmas banner/sentiment, pink ink, green ink, brown ink, white foamiran, pine cones, pine bough die, pink stamens, white coiled stamen, pink flower centres, snow globe stamp, foam pads, hot glue, white paint or gesso.
HERE IS HOW


Take a warm iron and BBQ stick and heat up until flower curls


Thread a large pink berry on a wire through the center of the stamens then hot glue just a tiny bit between the layers
You are now ready to assemble your card.
Step 1

Step 2

Step 3
Cover this with a piece of 5x5 inch glitter card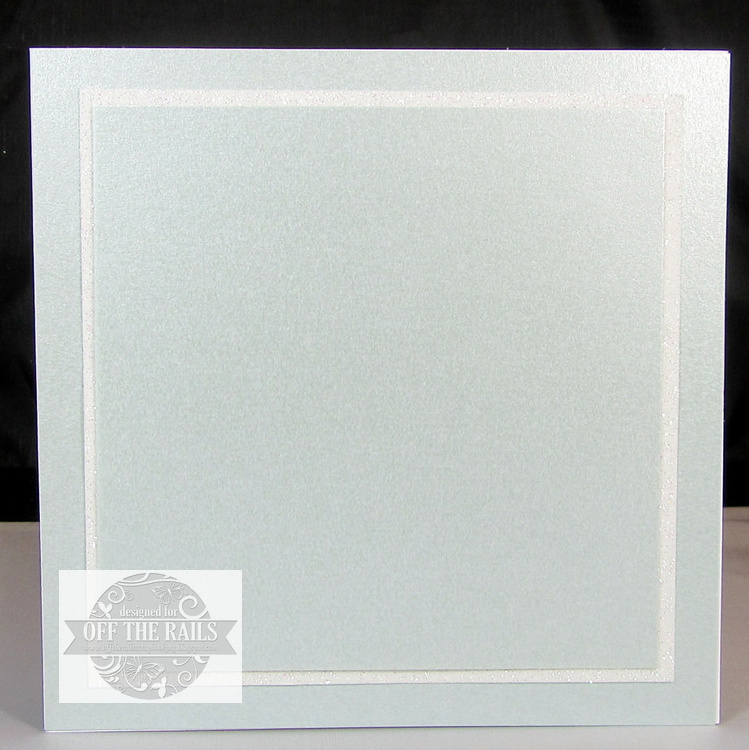
Step 4
Cover again with more blue pearl cardStep 5

Step 6

Step 7

Step 8


Many thanks for visiting today
Bye For Now
xxx

MY YOUTUBE VIDEO
No comments:
Post a Comment
Many thanks for stopping by my blog. I really appreciate and love reading all your comments. Have a great day, Bye For Now.