
Here is a layout I have just finished, using a sketch from STUCK ON YOU SKETCHES. I have also done a TUTORIAL for this one, so hope you check it out to see how I made the frame using cardboard.
So here is how I put the page together.
I wanted to keep the colours simple so chose cream, white and yellow from the photo. The background cardstock is cream Bazill. I then used a Martha Stewart doily punch and punched around the lacy paper. I then used some yellow Bazill for the centre background border and again doily punched all the edges. I then took 3 different sizes of doilys and inked the edges. I adhered all these to the page and went off to make my frame. ( See my tutorial). I then stuck the frame down and die cut the title using my new Tim Holtz die.
 |
| STUCK ON YOU SKETCHES April 13th |

TUTORIAL FOR FRAME
Step 1
Cut out a peice of corrugated cardboard - 7 x 9 inches
Draw a rectangle in the centre for the photo - 4 x 6 inches

Step 2
Cut out the centre
Peel off the backing paper
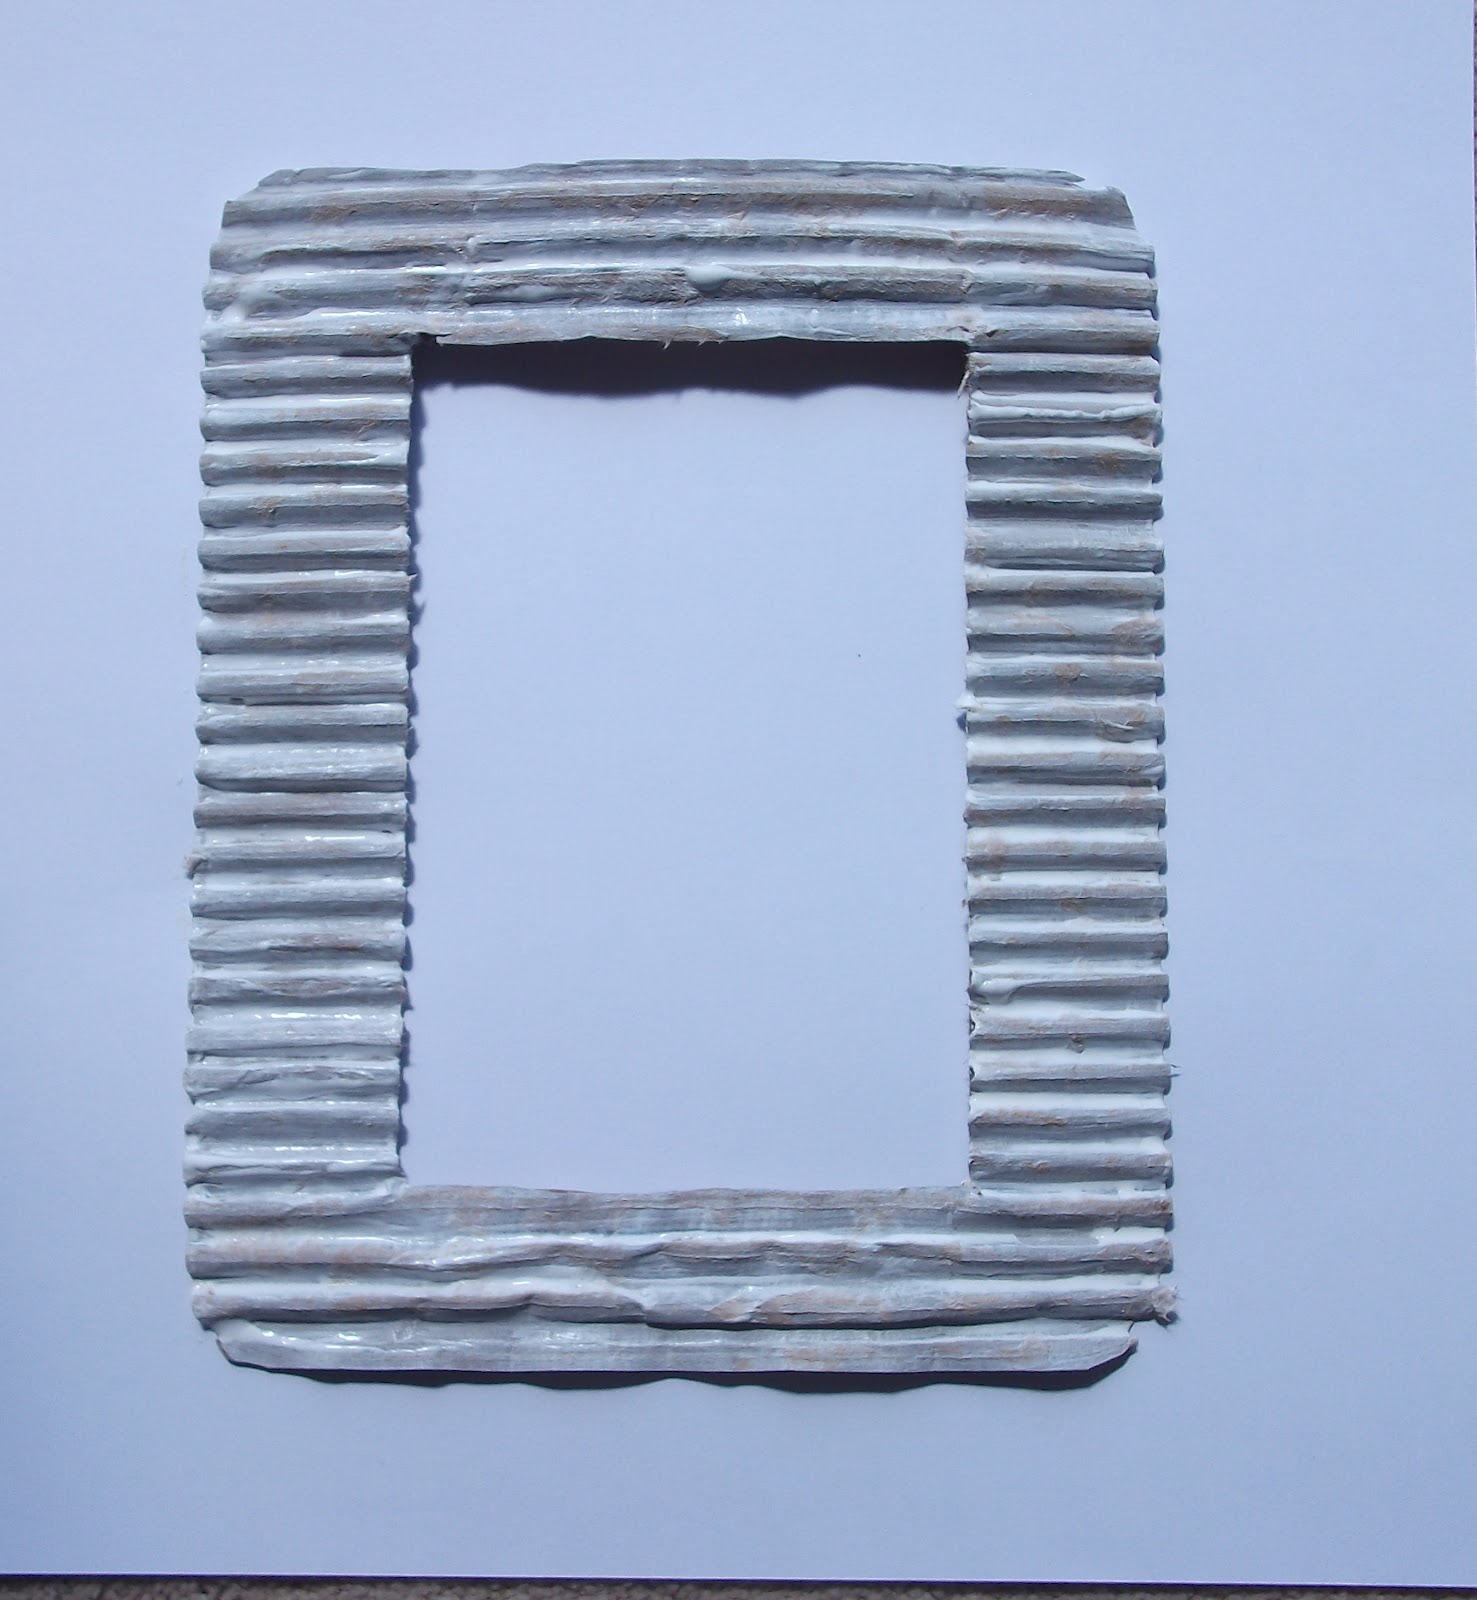
Paint all over with white paint

Step 4
Add a coat of ranger white crackle paint

Add some distress paint or ink, I used gold

Step 6
When dry, decorate with flowers etc and add to your page.
oh this is just gorgeous and what a great photo! Love your take on the sketch and the great tutorial!
ReplyDeleteBeautiful layout!! Love the doilies and your frame is fabulous (tfs the tutorial)!!!! So happy you could join us over at SOUS!! Hugs!!
ReplyDeleteAbsolutely stunning layout, love the punched edges and what a great tutorial.
ReplyDeletethnx for playing along with our sketch over at SOUS
hugs
Nanné
Great tutorial...and AWESOME page!
ReplyDeleteHow totally fun and a treat to see how you made it...
Just perfect for the sketch obviously and love that super
fun photo! That was great!
Really so glad you shared this and
Leah
What a wonderful project! Great work. Hope you had fun joining in with the S J Crafts challenge!
ReplyDeleteThank you for sharing this tutorial
ReplyDelete