
HAPPY NEW YEAR
Hope everyone had a great Christmas and a Happy New Years Eve
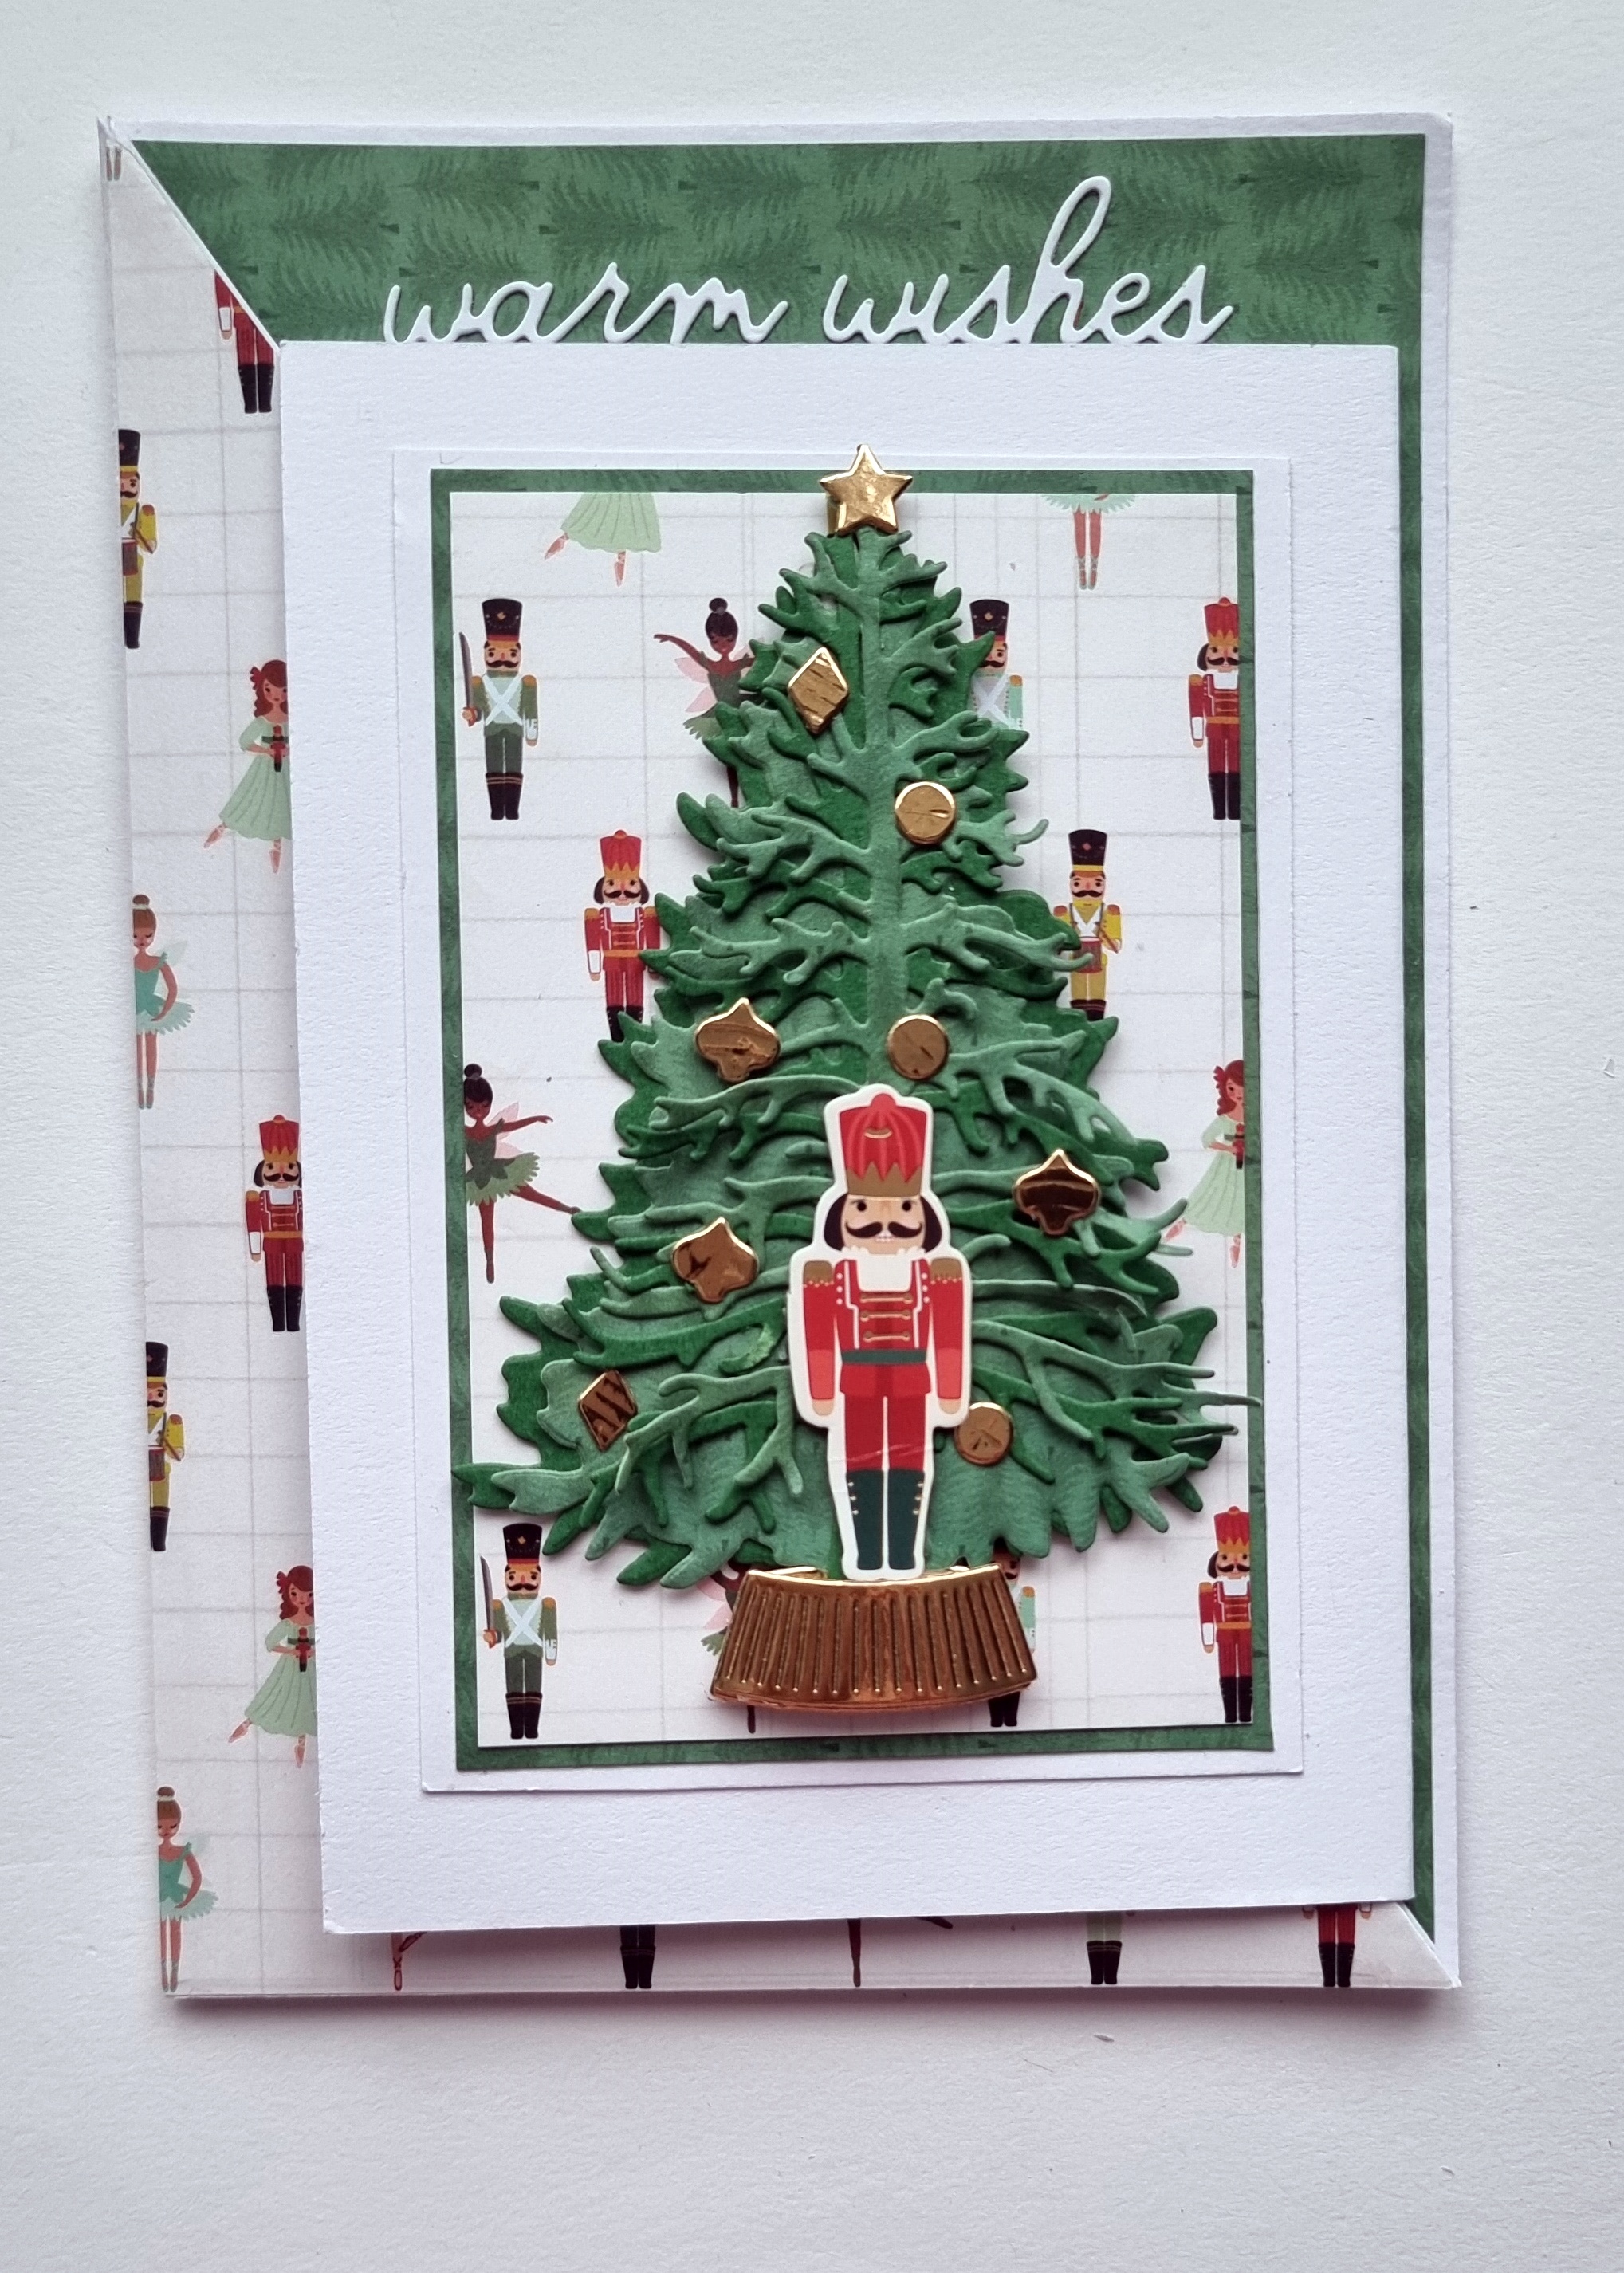
Here is my first card of the year 2025 with Elizabeth Craft Designs
AUTUMN HARVEST Collection

PRODUCTS USED
ELIZABETH CRAFT DESIGNS
FROM MY STASH
Card blank -8 3/4 X 3 1/4, white card, pink card, foam pads, clear glitter, clear glue, hot glue, ranger inks in assorted colours, sentiment

Cover the card blank with paper from the Autumn Harvest Paper Pad - 8 1/2 x 3in
Make one large flower with Florals 31 using three layers
Make two smaller flowers with three layers from Florals 32, make three centers
Colour with inks and foam brushes or daubers
Make three large leaves, colour with inks
Lightly shape everything with a flower shaping tool and mat
Adhere the flower layers together and glue to the card front with hot glue
Adhere the leaves around the flowers
Die cut a Sentiment in white card
Die cut the shadow to the sentiment in pink card, glue together
Adhere to card with foam pads
All done.

MANY THANKS FOR VISITING TODAY
COME BACK AGAIN SOON FOR MORE INSPIRATION
BYE FOR NOW
xxxx


.jpg)


