Morning lovely crafters.
Welcome to my blog and my latest card for
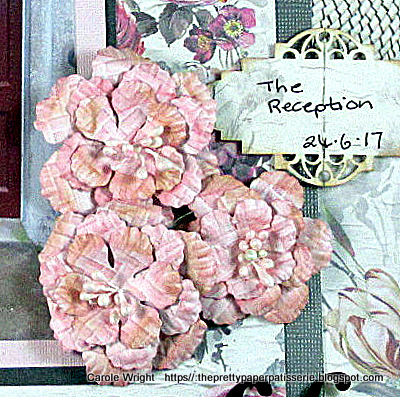
I have made a card with pretty spring flowers for you today.
I hope you like it.
I hope you like it.


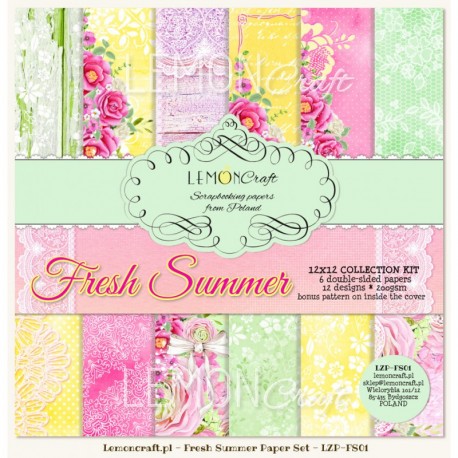
PRODUCTS FROM THE SHOP
FROM MY STASH
White 6 x 6 inch card blank, pink embossing powder, pink card, sentiment, white card scrap, yellow ink, mini pearls, glitter
HERES HOW
HERES HOW
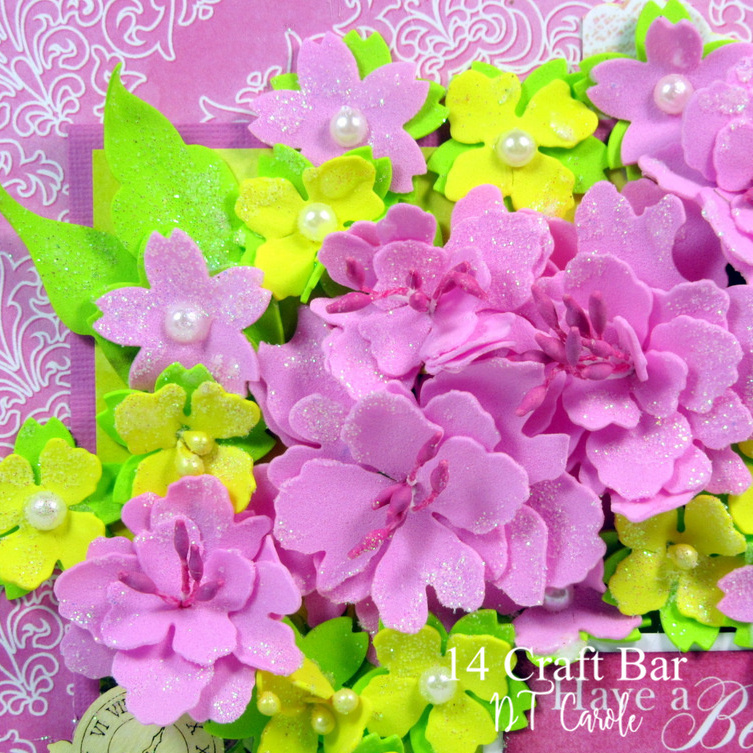
Die cut and punch out assorted flowers in Foamiran
Heat lightly with iron or heat gun, or if using silk foam, roll and squish, no extra heat needed
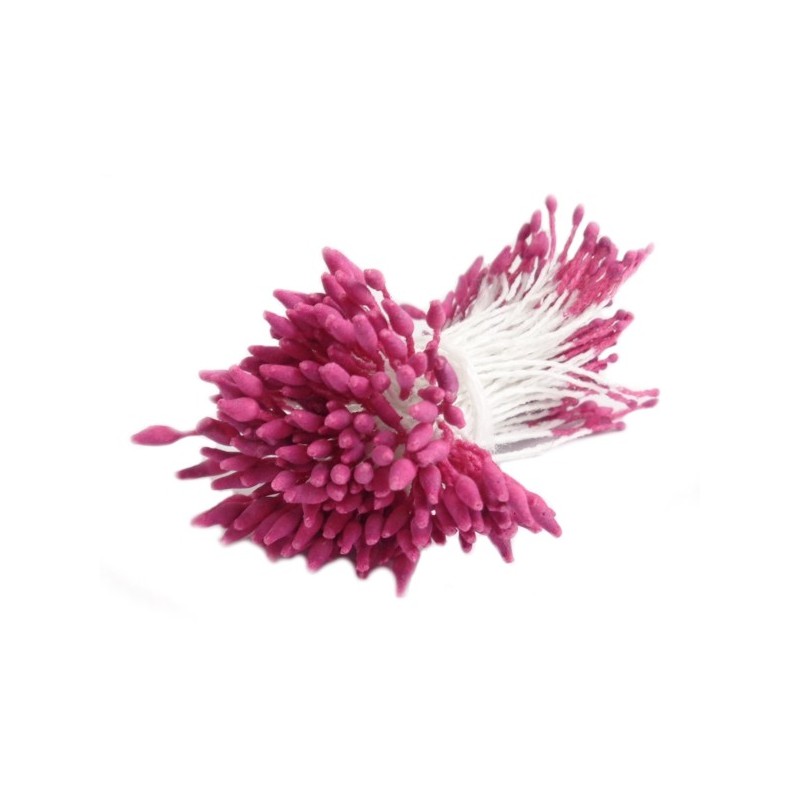
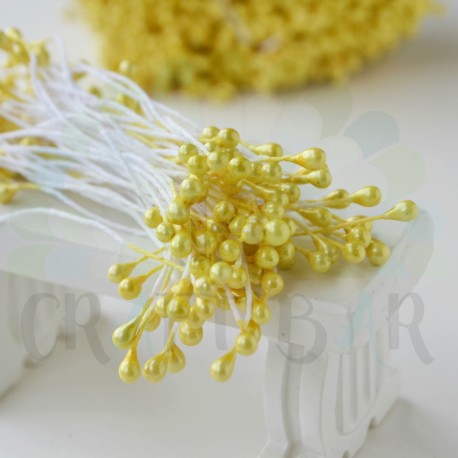
Gather a few layers together, add stamens through centers
Gather a few layers together, add stamens through centers
Now die cut the leaves in green foam
Add to back of flowers using hot glue.

I hope you like my card and flowers.
Many thanks for visiting today
Bye for now.