
Hi Heartfelt crafters, Its Inspiration Wednesday today and I have a new card up for you.
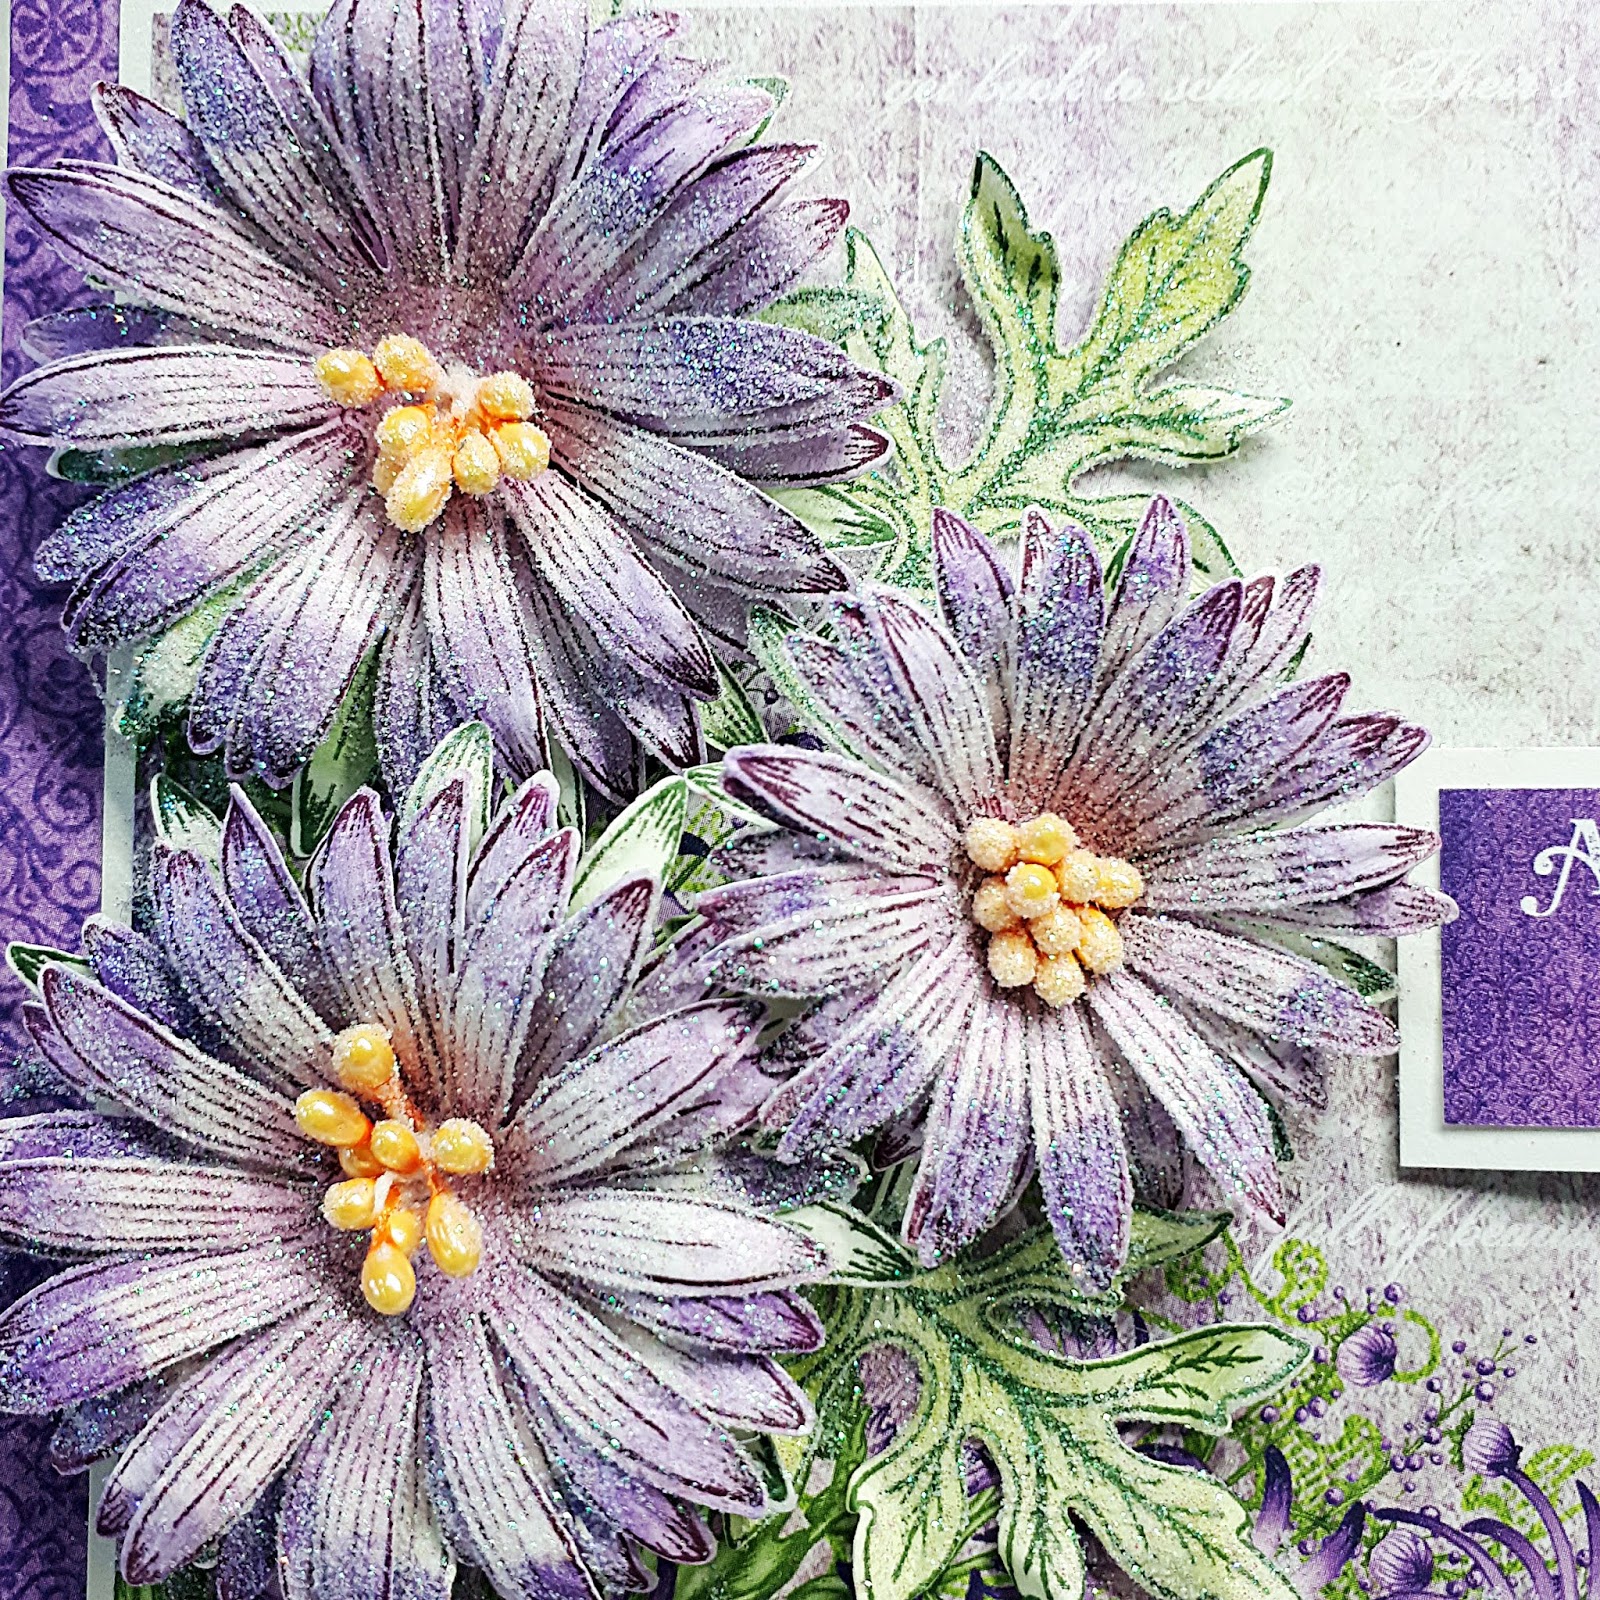
I have used the gorgeous WILD ASTER Collection
For full instructions and more inspiration please visit the
You can purchase the items here
PRODUCTS USED
Designer Dries Clear Adhesive, 159723
Crystal Ultrafine Transparent Glitter 1/2 oz., 85-glitter
Darice Adhesive Foam Strips, D120601
Wild Aster Die, HCD1-7257
Stack and Store Daubers-Pack of 6, HCDA1-449
Wild Aster Paper Collection, HCDP1-2106
3D Floral Basics Shaping Mold, HCFB1-464
Wild Aster Cling Stamp Set, HCPC-3887
Deluxe Flower Shaping Paper Pack of 25 - White, HCPP1-468
Bright Pearl Stamens-Medium, HCS1-458-2
Deluxe Flower Shaping Kit, HCST1-401
Ranger Archival Ink Pad - Leaf Green, RACP436
Ranger Archival Ink Pad - Olive, RACP48
OTHER PRODUCTS USED
Other Products: Hot glue gun, purple chalk ink, lilac chalk ink, White card.
 
MANY THANKS FOR VISITING TODAY - BYE FOR NOW
XXX
|


