Morning everyone and welcome to my latest layout for
FABSCRAPS DESIGN TEAM
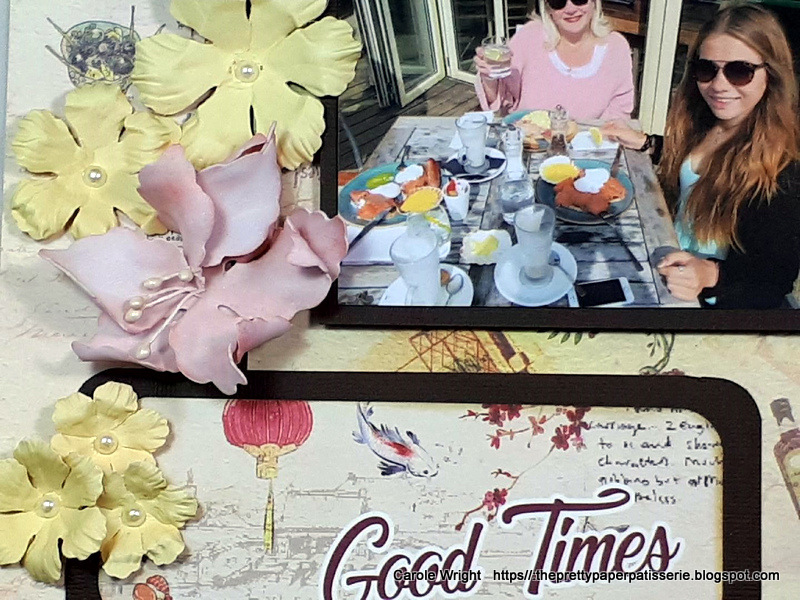
Using the fabulous
WILL TRAVEL FOR FOOD C102 COLLECTION
FABSCRAPS BLOG

INSTRUCTIONS


FOR THIS PROJECT YOU WILL NEED
- FABSCRAPS WILL TRAVEL FOR FOOD COLLECTION C102
- Fabscraps Carders pack MC102 001A - papers and die cuts
- Fabscraps Double sided 12 x 12 paper pack C102005
- Fabscraps Chipboard Die cut -Slice of Life DC102004
- Brown cardstock, yellow card for the flowers, kraft card, white foamiran for the flowers, pink ink, stamens, small lace diecut, flower dies and mini pearls.
- Matt photos onto brown card
- Matt a5.5 x 7.5 pretty paper onto kraft card, mat again onto brown card, adhere to 12 x 12 paper
- Adhere matted photos
- Matt Slice of Life chipboard onto brown card, adhere
- Matt a tag from the carders pack onto brown card, adhere
- Take another die cut from the carders pack for your journaling
- Die cut and make flowers, add stamens, pearls and adhere


Many thanks for visiting today
Bye for now