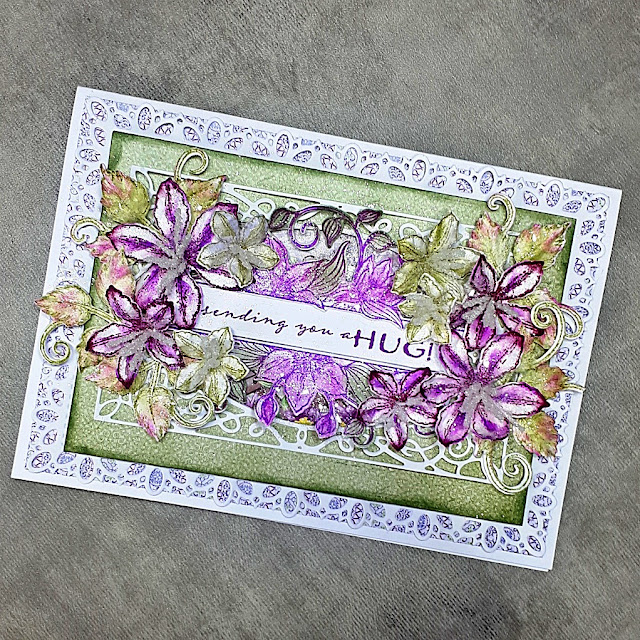
Morning everyone, welcome to my blog and my latest card with RELATIVELY YOURS Design Team.
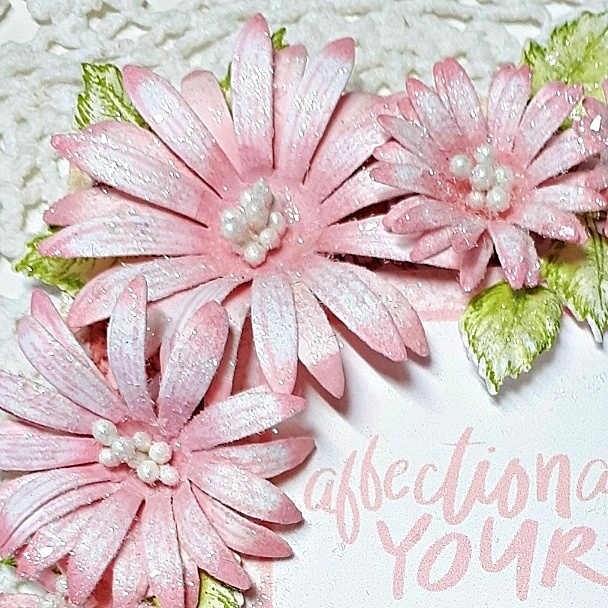
Affectionately Yours
***
RELATIVELY THOUGHTFUL Facebook Page

PRODUCTS USED
For this card I have used the papers from the Affectionately Yours Collection.
You can buy this kit here:
OTHER PRODUCTS
Heartfelt Creations dies
I also used leaf green ink, foam pads, dries clear glue, white card, 5x7inch card blank, pink cardstock
***
INSTRUCTIONS
Cover a 5x7 card blank with pink card. Cut a piece of pretty pink paper from the paper collection 4 3/4 x 6 3/4, adhere
Die cut two borders in white card
Cut a 6 1/4 x 2 3/4 panel in pink card stock
Cut out the sentiment from the paper collection, adhere to the pink card
Adhere to front of card with foam pads
Adhere the two borders
Cut out a small heart, adhere
Cut out three flowers, adhere
Using Dries Clear Glue add some to the center of the flowers, add Prills or micro beads
Cut out a few leaves, adhere
All done.

Bye for now
xxx