Friday, 29 November 2013

Jess and Joe


Morning all. Hope its a good one.
Here I have a layout of Jess and her mate Joe on their joint 17th Birthday party.
I have used papers from my November Cest Magnifique Kit http://cestmagnifiquekits.blogspot.co.uk/p/blog-page_10.html
 and some Blue Fern Studio chickenwire which I love. You can find it here http://bluefernstudios.blogspot.co.uk/.
http://www.bluefernstudios.blogspot.co.uk/2013/10/our-november-sketch-challenge.htm
I have entered this into the November sketch challenge here.
I love this sketch, its brilliant to work with.
So heres how I did it.
Matt photo in plain cardstock.
Gather up all the bits and pieces from the kit.
Adhere photo and start layering up.
Add embellies.
Add title.
Scrappy stash
Cest Manififque kit
Blue fern studios chicken wire chipboard
Butterflies
Cardboard
Homemade flowers using a Cheery Lyn die Sweet Williams
Assorted flowers
Tape white
Clock from prima packaging
Accordian flower Tim holtz die
Handmade butterflies
Letter sticker chippy title.

THANK YOU FOR VISITING MY BLOG TODAY - AND FOR YOUR LOVELY COMMENTS.

BAD HAIR DAY


Its Black Friday - hope you still have time for some scrapping!
Here I have done another layout using 7 Dots papers which I love.
I  entered this into a challenge at Berry 71 Bleu here http://berry71bleu.blogspot.co.uk/2013/11/november-challenge-change-is-beautiful.html
I thought Jess looked changed and she is always beautiful in my eyes no matter how she looks!
Also here Frosted Designs http://frosteddesigns.blogspot.co.uk/2013/11/friday-challenge-11-item-challenge.html as they had a challenge to incorporate 11 different things. Quite a challenge!!
HOW TO
Matt photo onto black cardstock.
Place in centre of pretty paper.
Paint a piece of corrugated cardboard and place underneath.
Add lots of border layers and ink the edges.
Add hessian/burlap.
Start adding all your items.
Tags, layering, tape, banners, patchwork, circles, stitching, stars, flowers, buttons, arrows!
Done!!!
SCRAPPY STASH
Plain cardstock
7 Dots paper - 9th wave
Embellishments - assorted.


Monday, 25 November 2013

SCISSORS HAIR SALON - BOO! - and 7 DOTS STUDIO


Here is a layout I have just finished, using 7 dots 9th wave papers and a fab photo of Jessie with the team at SCISSORS HAIR SALON in Christchurch.
 https://www.facebook.com/pages/Scissors- christchurch/276991142374454


I have entered this into a challenge over at 7 dots studio here  http://7dotsstudio.com/9th-wave-2 - Subject GOOD MOOD. I hope this photo puts you in a good mood!!!! It certainly made me smile!

HERES HOW
So I chose my pretty papers from 7 dots from my Cest Magnifique kit November,
 http://cestmagnifiquekits.blogspot.co.uk/
Double matt photo in black then pink cardstock.
Adhere slightly off centre of page.
Start adding layers under photo. I used some black plastic (its actually gutter guard so my husband said) then white hessian, pink hessian and three border strips also from the 9th wave collection.
Ink the edges of the border strips.
Next add a couple of strips to the side of the photo.
Start decorating with a clock face, flowers, butterflies, muslin, mini angels, key etc.
Die cut a title.
Stamp circles using black ink around the page.
SCRAPPY STASH
Pretty papers - 7 Dots Studio
Plain cardstock
Weathered Clock die - sizzix
Key
Mini clay angels using paper clay and moulds
Butterflies and beaded bodies
Small clock face taken from some packaging
Wine cork for the black ink stamping
Black ink
Cream brad
Gold acrylic paint for the angels.

Hope you like it and find some inspiration here. Many thanks for visiting my blog. I would love it if you left me a comment to say you had visited. Just scroll down the page. Bye For Now.


Friday, 22 November 2013

STUCK ON U SKETCHES DESIGN TEAM REVEAL FRIDAY - SO SWEET


http://stuckonusketches.blogspot.co.uk/

Hi everyone, and Welcome to Stuck On U Sketches Design Team Reveal Friday and my blog.
Today we have a great sketch from Leah.
For this layout I chose some Autumnal paper by Maja Design called Walking in the Forest.

HOW TO:
First of all, matt photos.
Ink edges of 12x12 pretty paper.
Attach photos.
Die cut a fence and add paint, ink and glossy accents.
 Add borders.
Adhere photos and fence.
Add the border.
Add flowers and embellishments.
Add Title.
SCRAPPY STASH
Pretty paper by Maja Design
Plain cardstock
Assorted leaves
Assorted flowers
Butterflies
Clock face
Die cut fence
White acrylic paint
Green acrylic paint
Brown chalk ink
Glossy accents
Title from sizzix sizzlets die.

Friday, 15 November 2013

INKIDO DESIGN TEAM CALL 2014


DT CALL FOR 2014!
 
MORNING ALL. TODAY I AM DOING A POST WITH SEVERAL OF MY FAVORITE PROJECTS THAT BEST REPRESENT ME AND MY STYLE FOR THE INKIDO DT CALL.
I LOVE INKIDO AND THEIR CHALLENGES. YOU CAN FIND THEM HERE http://inkido.blogspot.co.uk/
I fell in love with scrapbooking a few years ago when a friend introduced me to a  class and I havnt looked back since. I am a daily scrapper and love all things pink, pretty, flowery, layered and  shabby. I find it hard to make a layout without flowers!!
I have just started posting again to scrapbook.com here  http://www.scrapbook.com/myplace/index.php?mod=galleries
 https://www.facebook.com/pac.wright
 http://www.pinterest.com/caroleanne345/my-layouts/
http://www.flickr.com/photos/93765477@N05/


Hope you like my layouts, have a great day. bye for now.

Tuesday, 12 November 2013

FALL


http://cestmagnifiquekits.blogspot.co.uk/2013/11/november-sketch-challenge.html
Hi everyone, here is my latest layout using a C'est Magnifique sketch for my inspiration.
I love their sketches and this one is absolutely fabulous to work with.
I used their November kit for this layout and a few added extras from my stash.
I have also entered this into a challenge over at Inkido here http://inkido.blogspot.ca/2013/11/november-challenge.html
where we get to use strings.

HOW I DID THIS
First of all choose a pretty background paper from the kit and ink the edges
Matt photo (its of a little hedgehog we found in the back garden).
Paint, spritz and ink the fence chippy.
Adhere photo.
Cut out title pieces, ink edges and adhere with brads.
Start decorating with assorted flowers, leaves, branches, etc.
Add butterflies.
Add some pearls.
Add string to the title banner and in amongst the flowers.
One quick, easy page, I hope you give it a go.

SCRAPPY STASH
C'est Magnifique November kit
Assorted extra flowers and leaves
Butterflies
Beaded pins
Sticky back pearls
Blue Fern Studio fence chipboard
White paint
Green spray mist
Brown chalk ink
Hot glue gun
Tan plain cardstock
Paper clip
Journaling box and title in kit
Regular kitchen string
Martha Stewart paper clay kit bird
Tan brads.

Monday, 11 November 2013

WE HAVE A WINNER


THANK YOU EVERYONE WHO JOINED IN WITH THE BLOG HOP AND BECAME NEW FOLLOWERS. I HOPE YOU FOUND LOTS OF INSPIRATION.
FOR MY FOLLOWERS PRIZE  I PUT EVERYONE IN A HAT AND MY DAUGHTER JESSIE PICKED THE WINNER.
MEREDITH - CONGRATULATIONS YOU ARE MY WINNER.
PLEASE COMMENT BELOW WITH YOUR ADDRESS OR EMAIL ME AT pac.wright@ntlworld.com AND I WILL POP IN THE MAIL FOR YOU.

Friday, 8 November 2013

STUCK ON U SKETCHES SKETCH AND BUILD A PAGE - AND WHIMSICAL WEDNESDAY BLOG HOP


Welcome everyone to Stuck on U Sketches Design Team Reveal
HERE IS THE STUCK ON U SKETCHES SKETCH
 
AND
 Welcome to the Whimsical Designs “Give Thanks” Blog Hop.
 
 
STARTS AT 7PM EST AND ENDS MIDNIGHT SUNDAY EST 
 
 You should have arrived here from Melissa: http://melissa-moecreations.blogspot.com/ 
If you need to start from the beginning of the hop, head on over to Whimsical Designs blog or see the list below.
 
Thank you for joining us today for the blog hop and don't forget there are PRIZES along the way!
 
Your next stop is Cathy: http://inthecatcave.com/2013/11/ww.html
 
 
IF YOU WOULD LIKE TO BE IN WITH A CHANCE TO WIN MY PRIZE, PLEASE BECOME A FOLLOWER, LEAVE ME A COMMENT TO LET ME KNOW AND I WILL PICK A WINNER ON MONDAY.
 
HERE IS THE BLOG LIST 
Stephanie: http://www.stephanie-whimsicaldesigns.com
Ashley: http://especiallymade.blogspot.com
Elisabetta: http://scrap-colors.blogspot.it
Yvette:  http://daileyscrapper.blogspot.com/
Nanné: http://nannes-creations.blotspot.com
Jane:- http://scossiejane.blogspot.com
Sheila: http://parttimepretties.blogspot.com
Misty: hhttp://abusyplace.blogspot.com
Melissa: http://melissa-moecreations.blogspot.com/
Caroleanne http://theprettypaperpatisserie.blogspot.co.uk/
Cathy Caines: http://inthecatcave.com/2013/11/ww.html
Margie Calenda http://nobeesplease.blogspot.com
Tereese S: http://fridayscreations.blogspot.com/
Leah http://leahschaeffer.blogspot.com
Sue : http://soojay.co.uk

And here is my BUILD A PAGE for you.
 Take a sheet of pretty paper and add gesso and spray inks.
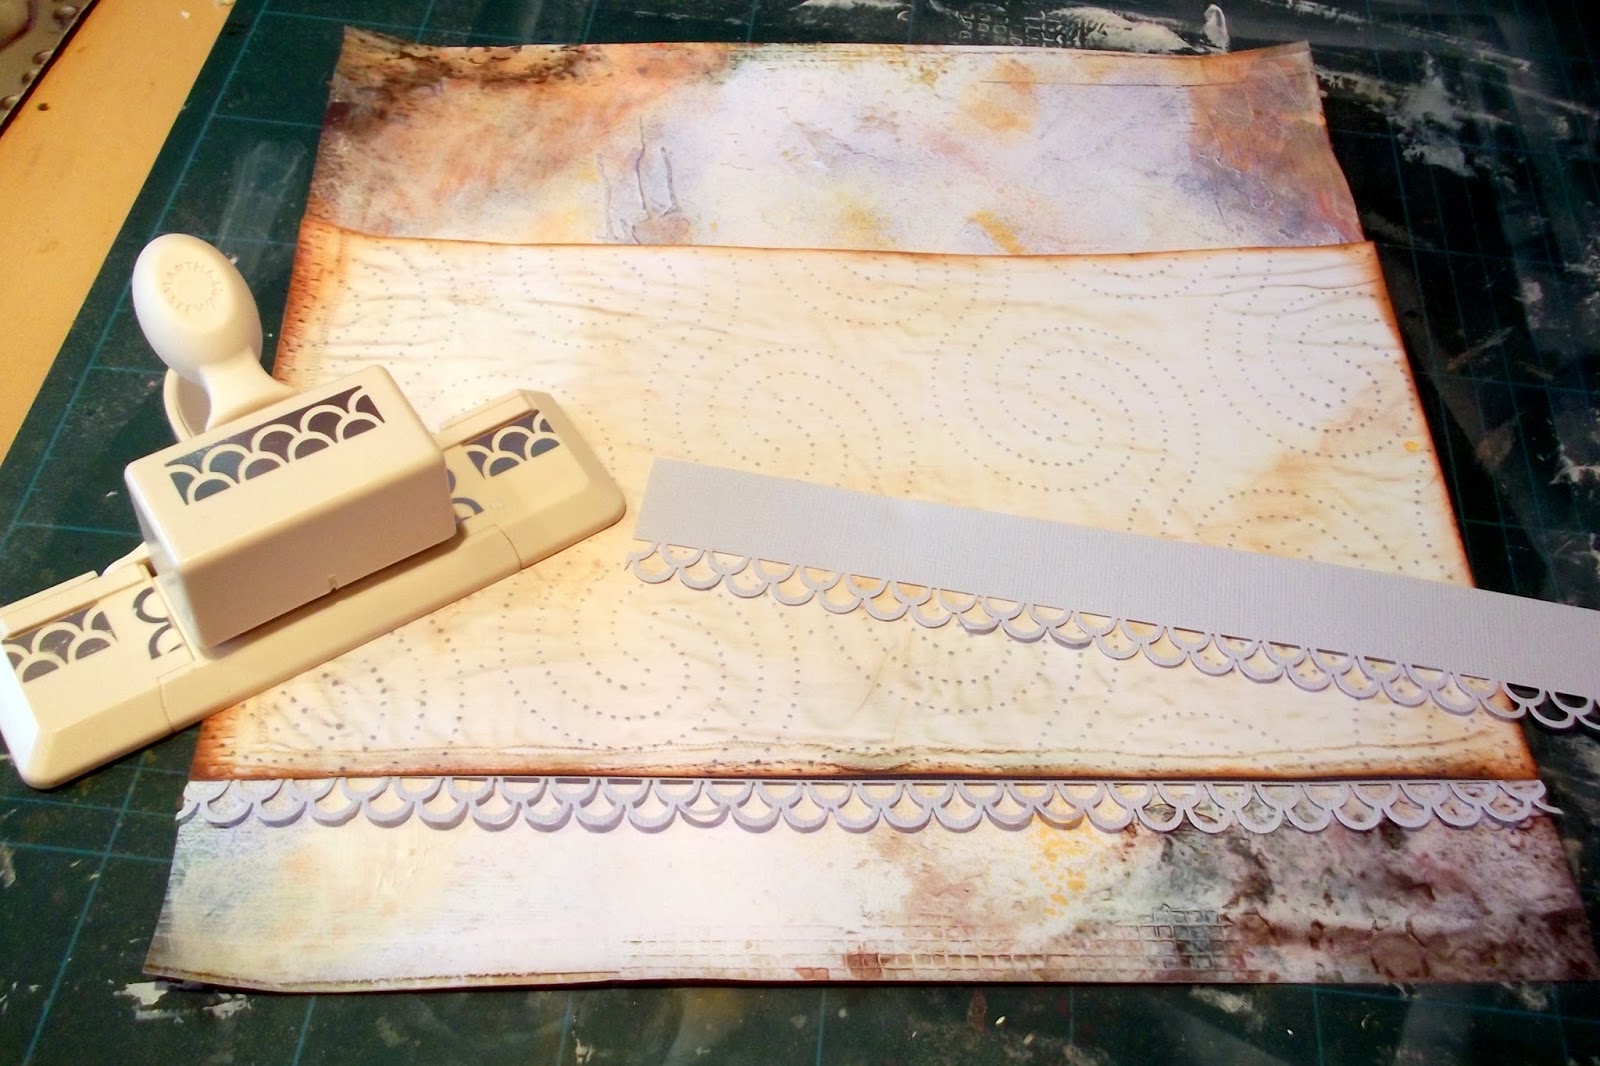
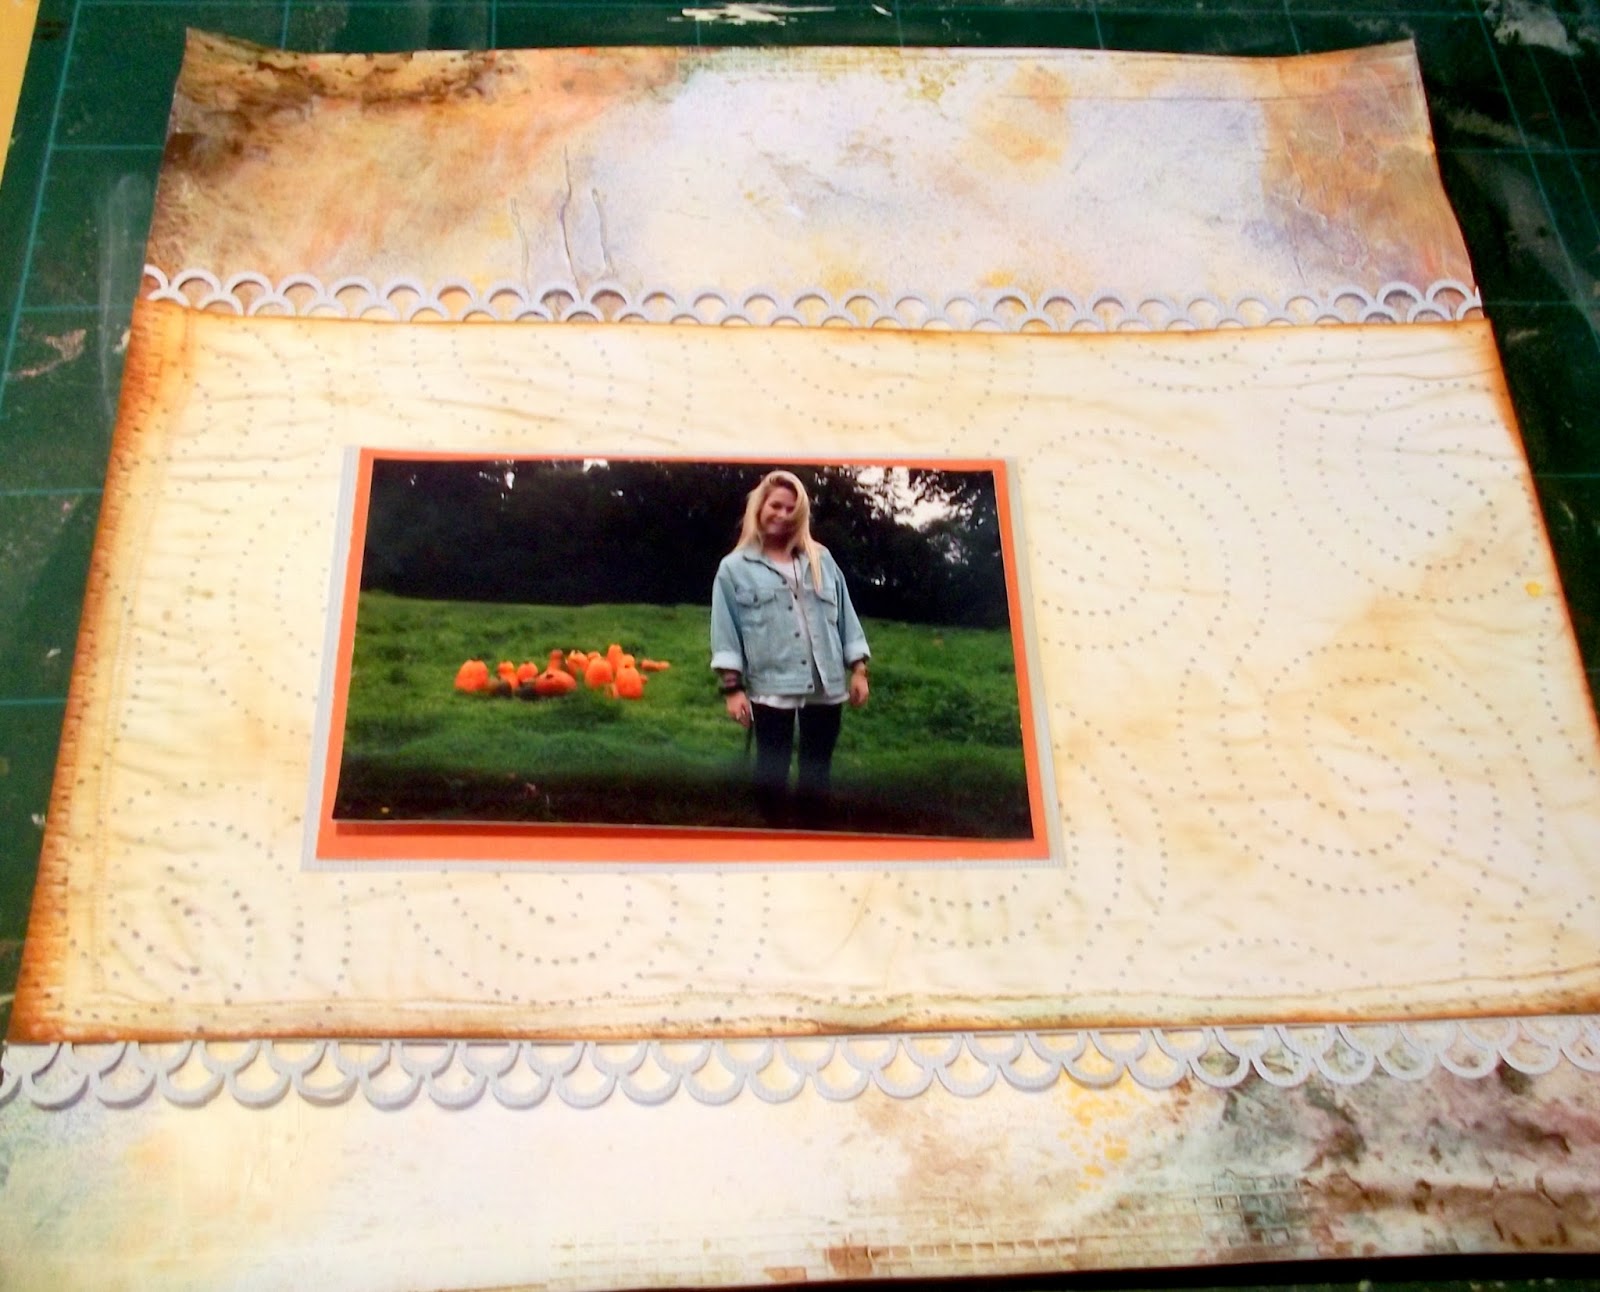
 Cut a sheet of pretty paper to 12x6.5inches and ink the edges, adhere.
 Cut two borders from co-ordinating cardstock.
 Attach the borders.
 Matt photo and adhere.
 Start adding layers, ink all the edges.
 Add more layers.
 Attach a journaling block, ink the edges.
 Die cut some branches and add ink, paint and spray mist.
 Adhere branches to your layout.
 Start to decorate and apply title with stickers.
I changed the photo matt at the end from orange to pale blue.
 
AND HERE IS MY FOLLOWERS PRIZE
6 Packs of 7 Gypsies sticker sheets - 12 x 6 inch

SCRAPPY STASH
Pretty papers by 7 Dots Studio - 9th Wave
Pale blue cardstock - Bazzil
Assorted layers - 7 Dots Studio
Burlap/Hessian
Butterflies - Prima
Assorted flowers
Leaf
Branch die by Sizzix
Ranger pearl mist in green
Acrylic paint in green
Sticker title - 7 Dots Studio
Fence Die cut
Brown Chalk Ink
Martha Stewart Border Punch
Gesso
Assorted pearl mist sprays for the background
Glue gun to attach flowers
Beaded stick/hat pin
Prima mini butterfly in green.


Thank you for joining us today for the blog hop I hope you enjoyed the blog and all the inspiration along the way. Good luck for the prize which I shall pick from a hat on Monday. 

Thursday, 31 October 2013

CEST MANIFIQUE SKETCH CHALLENGE FOR OCTOBER - Pumpkin Patch


Morning all, here is my latest layout that I have just finished, I used a sketch from Cest Manifique for my inspiration, along with their October Kit. I hope you like it.

http://cestmagnifiquekits.blogspot.co.uk/2013/10/october-sketch-challenge.html

For this layout I used the 7 Dots Studio papers.
I matted my photo, cut out the large banner and inked the edges.
Next, start adding some layers, I used some hand made paper, burlap, a doily, cards from the kit, paper from the kit and some cardboard that I put gesso on.
I made some mini banners and inked the edges and attached these.
I then started to decorate.

I hope you like the finished result.

SCRAPPY STASH
Cest Manifique Oct Kit
Assorted flowers
Butterflies and beaded bodies
Orange plain cardstock
White doily
Cardboard
Brown and Orange inks
Key mould to make paper clay key
String
Burlap/Hessian
Sizzix Die for the small branch
Home made white paper
Vine leaves

MANY THANKS FOR ALL YOUR LOVELY COMMENTS.

While I'm here, can I just give
 a shout out for a
 Blog Hop
 coming up.
 
 and
 are joining together to showcase
some stunning
 fall/autumn
 designs.
 
Plenty of Candy
flying around too.
 
Mark your diaries and
 don't miss out.


Friday, 25 October 2013

STUCK ON U SKETCHES DESIGN TEAM SKETCH REVEAL - BUILD A PAGE - HAPPINESS


Hi everyone and Welcome
 to the
 STUCK ON U SKETCHES DESIGN TEAM SKETCH REVEAL

This is a great sketch to work with so don't forget to check out all the other designers blogs for lots more inspiration.
I have done a BUILD A PAGE for you so you can follow along.


 Step 1 -   choose background paper


 Step 2
Take a piece of 12x12 cardstock and cut a circle from the centre and put to one side.
Cut all around the outside edge with zig-zag scissors, ink and adhere to the paper.


 Step 3
Cut a piece of pretty paper to 10x9 inches and punch out a pretty border, ink the edges. Adhere.

 Step 4
Cut a cardstock circle in black cardstock and adhere. Cut another circle just a little smaller, adhere.

 Step 5
Add a doily.
Step 6
Cut a rectangle in pink cardstock and matt onto black cardstock. Adhere.

Step 7
Make another matt from pretty paper and matt onto black cardstock. Matt photo onto black cardstock.
Adhere both matts. Make 5 banners, ink the edges and attach. Add a flourish. Attach lace.
Finish by decorating with flowers and butterflies, a title and journaling blocks.
 
I hope you like it and give it a go.
 
SCRAPPY STASH
Pretty papers
Plain cardstock
Zig zag edge scissors
Martha Stewart large doily punch
Brown ink
White doily
Black lace ribbon
Assorted flowers
Three butterflies with beaded bodies
Title and journaling blocks
Sizzix Banner dies
Papers from Kaisercraft in my Cest Magnifique Kit
 
MANY THANKS FOR ALL YOUR LOVELY COMMENTS

Friday, 11 October 2013

STUCK ON U SKETCHES REVEAL AND A BUILD A PAGE - CHERISH - OCT 11TH


Happy Friday and welcome to the STUCK ON U SKETCHES DESIGN TEAM REVEAL.
Here is a fab sketch by Nanne which if you love layers like me, you will love this one. Don't forget to visit all the designers blogs for lots of great inspiration. As for me, I have done a step by step build a page for you. This one shouldn't take very long at all. Say about an hour. Enjoy.


http://stuckonusketches.blogspot.co.uk/

 
STEP BY STEP INSTRUCTIONS

Choose your papers and cardstock.
These are from ScrapBerry and Kaisercraft.
 Distress the edges of your first layer and adhere.
 Distress the edges on your second layer and adhere.
 Distress the edges on your third layer and adhere.
 Distress a pretty paper and adhere.
 Add your matted photo.
 Add a doily and a journaling block.

Add another doily.
 Add a third doily.
Add two tags, ink the edges.
 Add two arrows and two photo corners.
 

 Add the title and border strips.

I re-adjusted a few things at the end. Hope you like my layout, and many thanks for visiting my blog and leaving me lovely comments, I really appreciate it.