
Morning lovely crafting friends,

Elegant Rose Frames Paper Collection, HCDP1-2144
Stylish Rose Frame Cling Stamp Set, HCPC-31003
Stylish Rose Frame Die, HCD1-7421
Elegant Rose Sentiments Cling Stamp Set, HCPC-31004
Elegant Rose Sentiments Die, HCD1-7422
Classic Rose Cling Stamp Set, HCPC-3752
Classic Rose Die, HCD1-7110
3D Floral Basics Shaping Mold, HCFB1-464
Leafy Accents Cling Stamp Set, HCPC-3835
Leafy Accents Die, HCD1-7193
3D Leafy Accents Shaping Mold, HCFB1-467
Deluxe Flower Shaping Kit, HCST1-401
Deluxe Flower Shaping Paper Pack of 50 - White, HCPP1-475
Stack and Store Daubers-Pack of 6, HCDA1-449
Designer Dries Clear Adhesive, 159723
Clear Cardstock 8.5 x 11, GBKK811B1
Memento Dye Ink Pad - Lilac Posies, TSMP501
Ranger Archival Ink Pad - Olive, RACP482
Ranger Archival Ink Pad - Leaf Green, RACP436
Hydra Sponges, RLHS100


INSTRUCTIONS
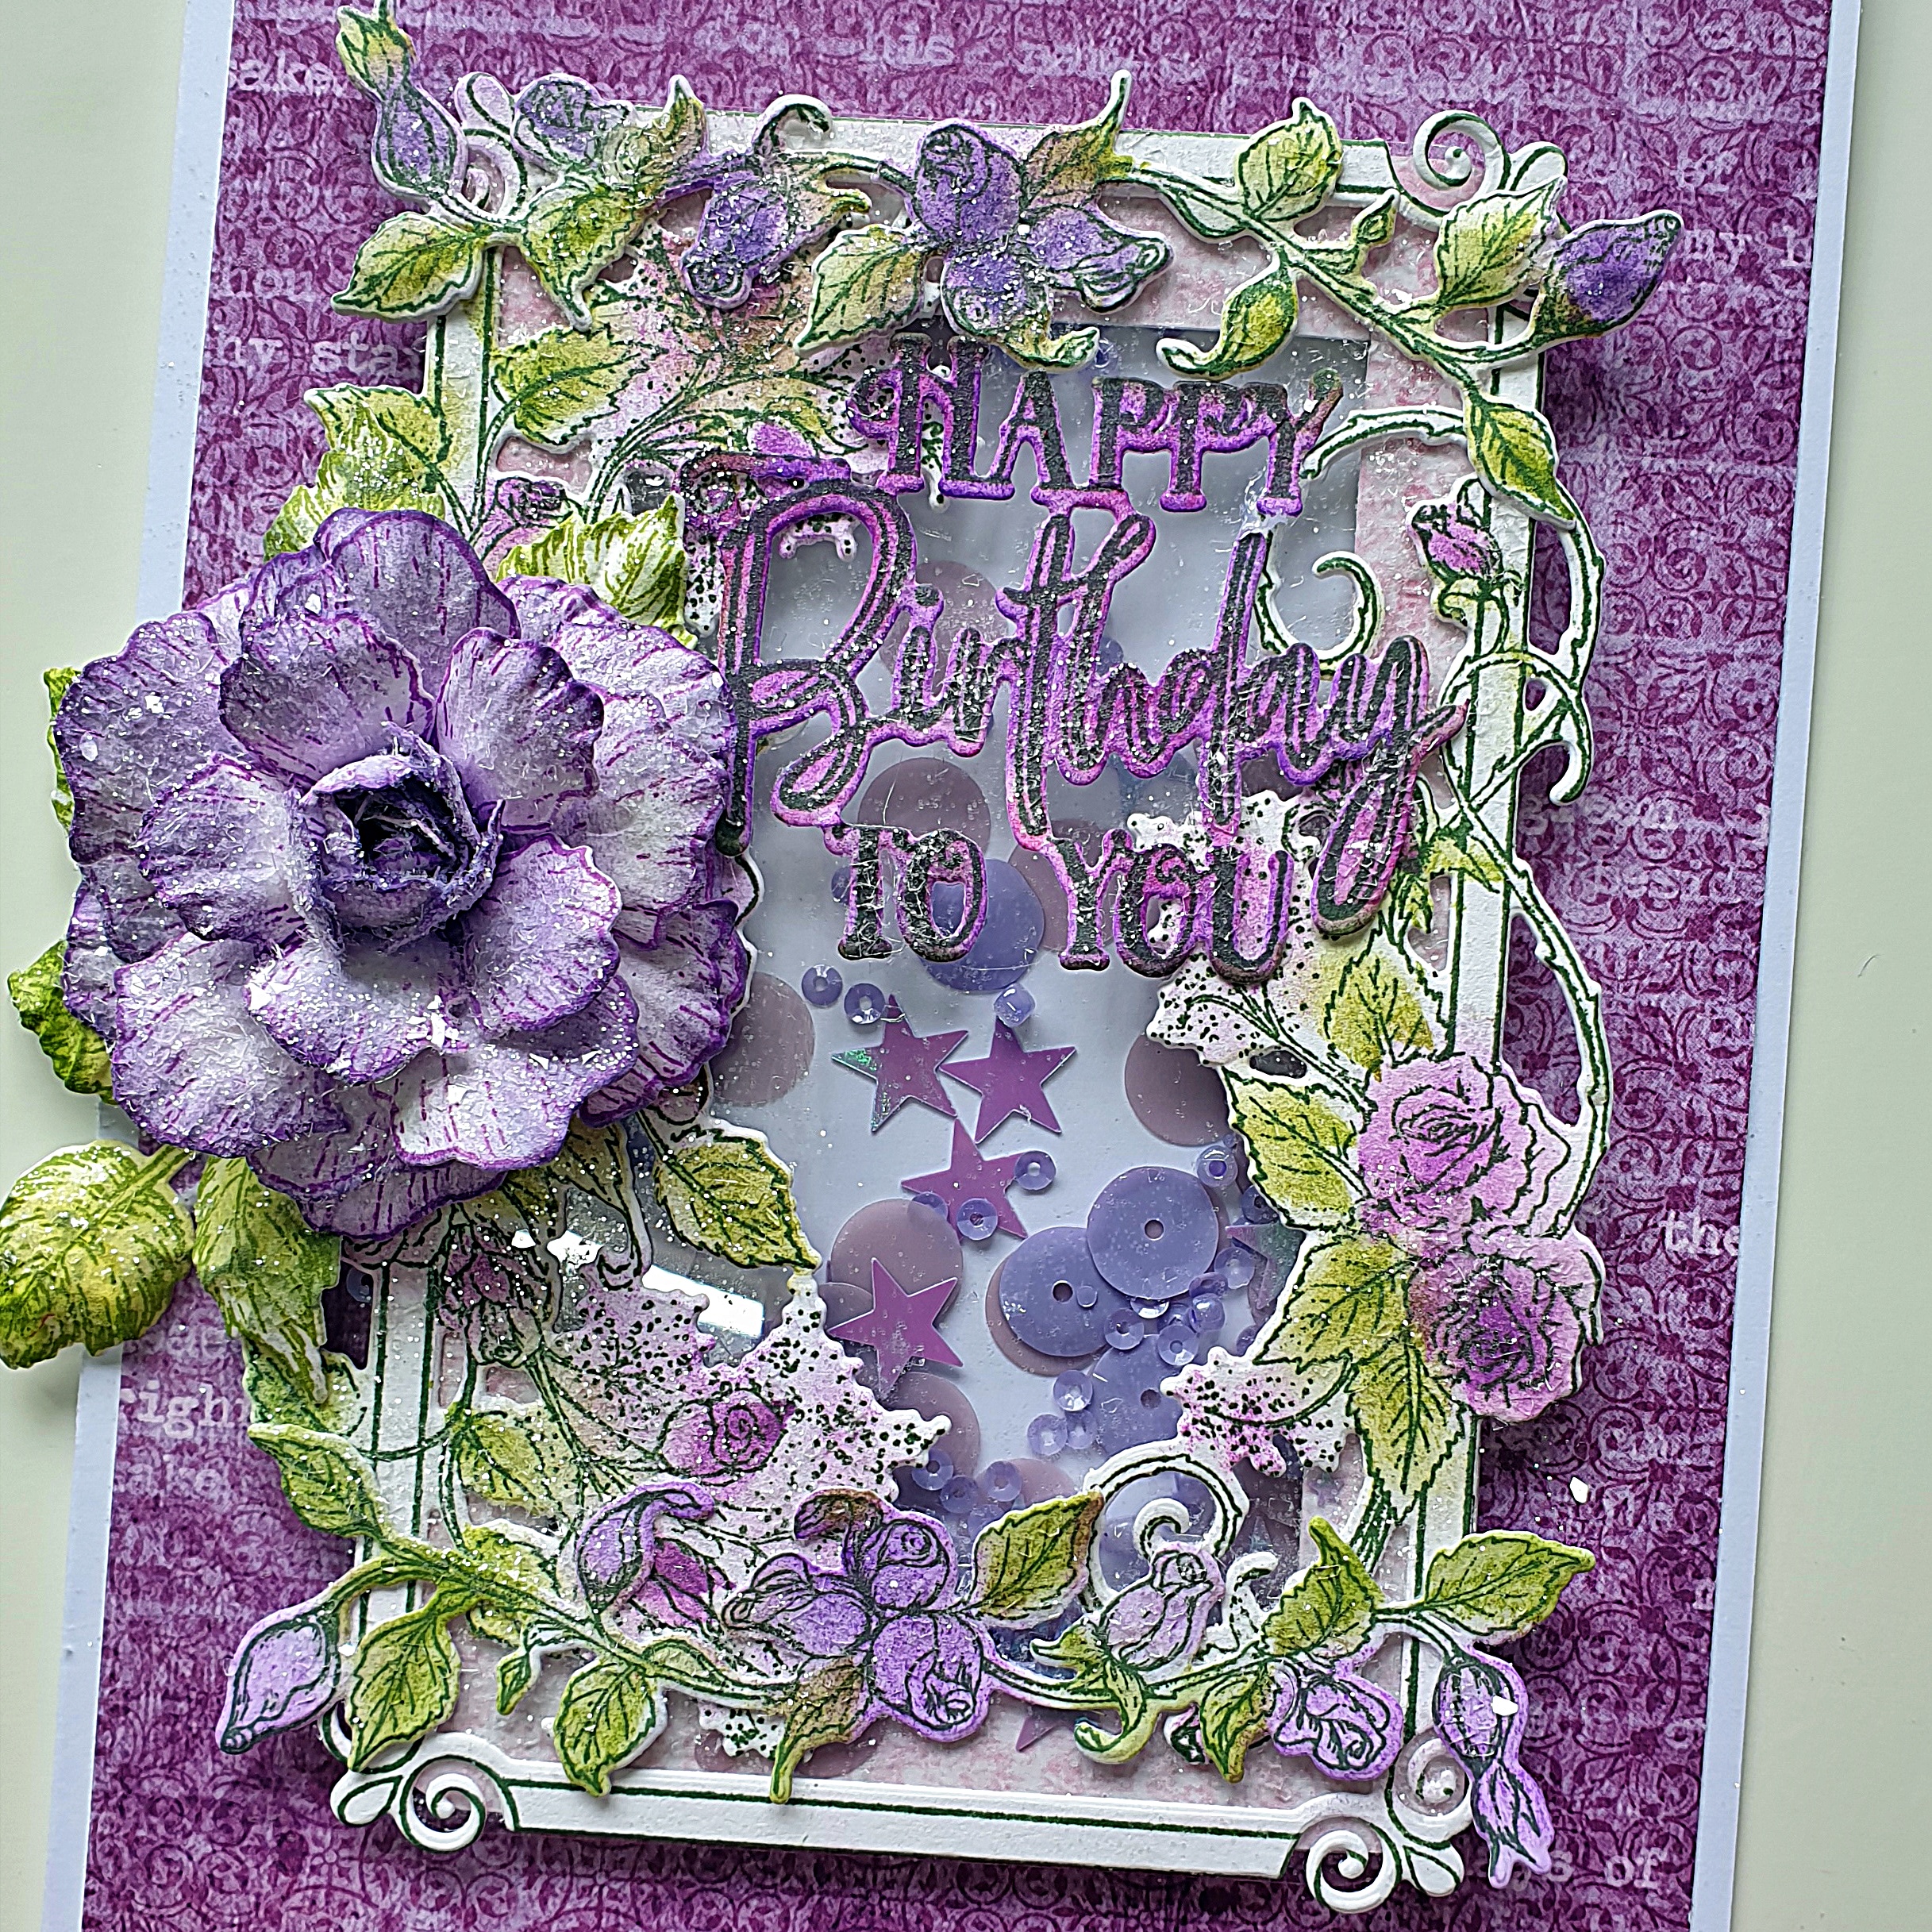
To make this
5"x7" shaker card, cut a piece of purple paper from the Elegant Rose Frames
Collection Paper Pad to 4 3/4" x 6 3/4" and adhere to the front of the 5" x 7" card.
Cut a 3 1/4" x 4 3/4" piece of white card. Adhere 1/4" inch foam tape all around the
edges of the white card, without any gaps, adhere to front of the card, with
the foam tape facing up. Cut a piece of Clear Cardstock to 3 1/4" x 4 3/4", put to one side. Cut
a piece of pink paper from the paper pad to 3 1/4" x 4 3/4". Using a paper trimmer cut out half an inch
from all the way around the inside, making a frame. Adhere to the foam tape. Add
sequins and beads into the center of the frame. Adhere the Clear Cardstock.
Stamp in Ranger Archival Olive ink, the Stylish Rose Frame Cling Stamp, onto Deluxe Flower Shaping paper. Color with Ranger Archival Leaf Green and Majestic Violet inks, using Daubers. Die cut with the matching die. Adhere to the Clear Cardstock. Stamp two small Stylish Rose Frames strips from the same stamp set, in Olive ink. Color with Leaf Green and Majestic Violet inks using Daubers. Die cut with the matching die. Adhere to top and bottom of the Stylish Rose Frame.
To make the Rose,
stamp onto Flower Shaping paper, the roses from the Classic Rose Cling Stamp set,
in Majestic Violet. You will need, three Extra Large, one large, two medium,
two small and one extra small. Color with Majestic Violet using a Dauber. Die
cut with the matching dies. Place in the Basic Flower Shaping Mold and spritz
with water. Run through a die cutting machine and tap out. Lightly shape on the
reverse side with the Stylus from the Deluxe Flower Shaping Kit. Lightly ink
all the edges in Majestic Violet. To make the bud, apply Dries Clear Glue to
the reverse of the Extra Small set of petals and gently bring together all the
petals one by one. Hold for a minute to allow to dry. Add two Small sets of
petals making sure to offset the petals as you go. Add two Medium layers, one Large
layer and three Extra Large layers. Adhere to the side of the card with hot
glue.
Stamp in
Leaf Green ink the Leafy Accents from the Leafy Accents Cling Stamp Set. Color
with Leaf Green ink, using a Dauber. Die cut with the matching die. Lightly ink
the edges in Leaf Green ink using a Dauber. Cut into small segments. Adhere a few leaves around the Classic Rose using hot glue.
Stamp in Olive
ink the ‘Happy Birthday to You’ Sentiment from the Elegant Rose Sentiments Cling
Stamp set, onto Flower Shaping Paper. Color with Majestic Violet and a little
Memento Lilac Posies ink using Daubers. Cut off the extra parts to leave just the Happy Birthday. Die cut with the matching die. Adhere
to card front with hot glue onto the Frame sides. Using a small sponge and Designer Dries Clear Glue, apply glue
everywhere you would like glitter. Add clear glitter with a small spoon. All done.

HOW TO USE THE ELEGANT ROSE FRAMES
No comments:
Post a Comment
Many thanks for stopping by my blog. I really appreciate and love reading all your comments. Have a great day, Bye For Now.