
Morning lovely crafting friends

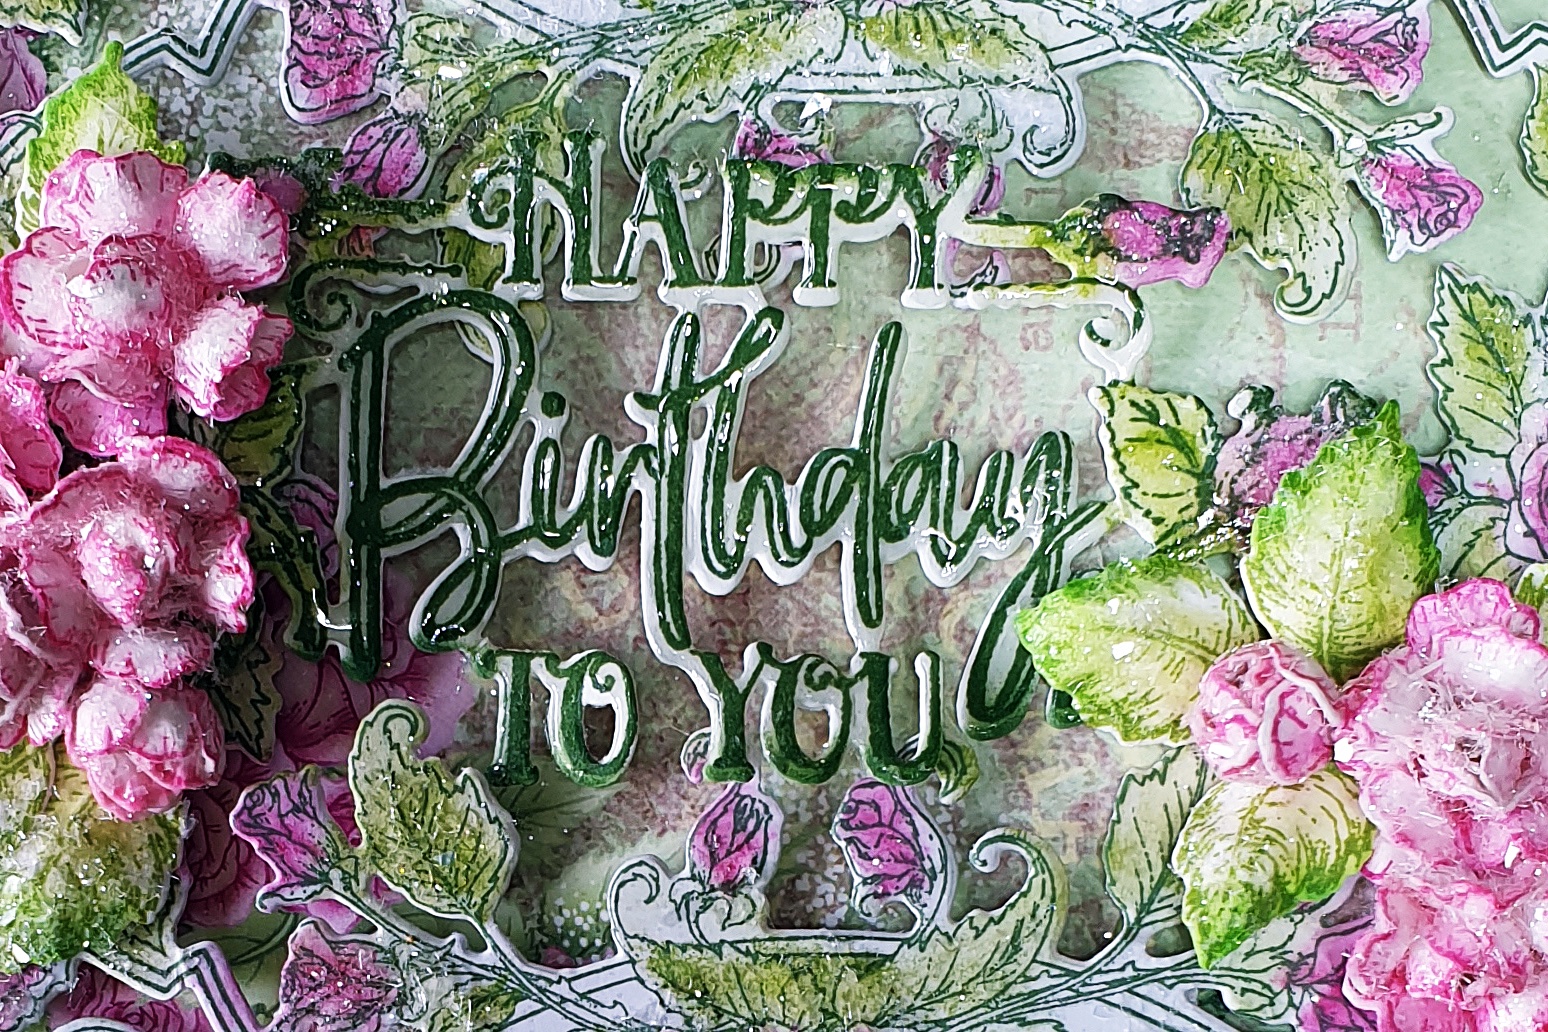
Cover a 6" x 4"card blank with Sheet 5A, from the Elegant Rose Frames Collection Paper Pad. Stamp onto white card, the Stylish Rose Frame Stamp, from the Stylish Rose Frame Cling Stamp Set, in Ranger Archival Olive ink. Color with Ranger Archival Vibrant Fuschia and Leaf Green inks, using the Daubers. Die cut with the matching die. Adhere to card front using foam pads. Using a small sponge, apply Dries Clear Glue to the Frame wherever you would like glitter. Add clear glitter.
Stamp onto Deluxe Flower Shaping Paper in Ranger Archival Olive ink, the Happy Birthday Sentiment from the Elegant Rose Sentiments Cling Stamp Set. Color with Ranger Archival Vibrant Fuschia and Leaf Green inks, using the Daubers. Apply Ranger Glossy Accents Dimensional Glue. Set aside to dry. When dry, adhere to front of card at either end using hot glue.Stamp onto Deluxe
Flower Shaping Paper in Leaf Green ink the smaller set of Leafy Accent Leaves. Color with Leaf Green ink, using a Dauber.
Die cut with the matching die. Place in the Leafy Accents Shaping Mold.
Lightly spritz with water and run through a die cutting machine. Tap out and
ink the edges with Leaf Green ink using the Dauber. Cut into small segments.
To make the
Classic Roses, stamp onto Deluxe Flower Shaping Paper in Vibrant Fuchsia ink, the
Classic Roses Cling Stamp Set, three times. Die cut with the matching dies. Lightly
spritz with water and run through a die cutting machine. You will need nine small
and nine extra small blooms. Tap out and lightly shape with the Stylus from the
Deluxe Flower Shaping Kit. Shape on the reverse so that the petals cup inwards.
To make a bud, take the extra small petals and add Dries Clear Glue to the
reverse, gently bring each petal up towards the center and press together. Hold
for a minute until dry. Make nine extra small buds. Adhere two small layers of
petals together, offset the petals as you go then adhere the bud into the
center. Make three in this way. Make three with one layer of small petals. Make
two buds with two lots of extra small petals. Leave one bud.
Adhere the Classic Roses, buds and Leafy Accents leaves to either side of the Sentiment with hot glue. Using a small sponge and Dries Clear Glue, add glue over the Roses and leaves. Apply clear glitter. All done.
Elegant Rose Frames Paper Collection, HCDP1-2144
Stylish Rose Frame Cling Stamp Set, HCPC-31003
Stylish Rose Frame Die, HCD1-7421
Elegant Rose Sentiments Cling Stamp Set, HCPC-31004
Elegant Rose Sentiments Die, HCD1-7422
Leafy Accents Cling Stamp Set, HCPC-3835
Leafy Accents Die, HCD1-7193
3D Leafy Accents Shaping Mold, HCFB1-467
Classic Rose Cling Stamp Set, HCPC-3752
Classic Rose Die, HCD1-7110
3D Rose Shaping Mold, HCFB1-462
Deluxe Flower Shaping Kit, HCST1-401
Deluxe Flower Shaping Paper Pack of 50 - White, HCPP1-475
Stack and Store Daubers-Pack of 6, HCDA1-449
Designer Dries Clear Adhesive, 159723
Ranger Archival Ink Pad - Olive, RACP482
Ranger Archival Ink Pad - Vibrant Fuchsia, RACP524
Ranger Archival Ink Pad - Leaf Green, RACP436

Beautiful card my friend. Love your flowers.
ReplyDelete